Members’ Projects
Here are some pictures and descriptions of some member’s layouts built during the COVID crisis and beyond, some of which are now available for public exhibition.
“COVID Lockdown” by Ron Drew
THE SAGA OF ‘RON’S’ HOME MODEL RAILWAY
When I lost my job many, many moons ago, something like thirty years, Angela said to me you always wanted to have a model railway, why don’t you join a model railway club? So I went to the North Watford Library and obtained the names and addresses of three clubs.
The first I visited was based in Brickett Wood and only dealt in ‘OO’. As I wanted to model in ‘n’ that club was out. My second visit was to a club in Bushey who, although they model in ‘n’ I wasn’t sure about, so I ended up at SWHMRS who made me thoroughly welcome. I joined and, as some of you know, have been with them ever since.
Back to my own layout, I was going to build it in the garage that surprisingly did not house my car and the idea was to suspend it from the ceiling on pulleys that could be lifted out of the way when not being worked on. Something like 14’ x 4’6” in size, it was built with access to build and operate from a hatch in the middle. Eventually, I came to the conclusion that I was in danger of bringing the ceiling down with the weight so the project was abandoned, though there still are a couple of pulleys in situ.
Some years later, possibly like 15 years, looking through a model railway magazine I came across a layout that was attached to a wall and lowered down when access was required and lifted back up when access to the garage etc. was required. This became my second layout; it is 7’ 6” by 3’ and has recently been named as ‘COVID LOCKDOWN’. Strange name!
I wanted a fully functioning layout, i.e. station to service a round and round with trains coming into the station and other loco’s coming from a yard to connect up and take the train back out. Two problems; once the train departs how do you turn it around so that it comes back into the station? A double reverse loop is required. The other of turning loco’s around? Have a turntable.
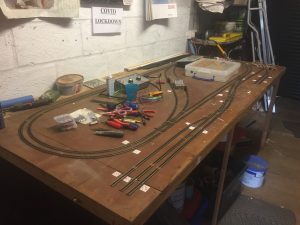
So onward to track laying. That caused a few problems; fitting all this proposed layout into the size that was now available lead to a bit of track lifting and re-installing and so the layout came into being in the current design.
I’m not too bad to track laying but electricity, especially with a reverse loop and crossovers, presented problems to me so the whole project gradually ground to a halt.
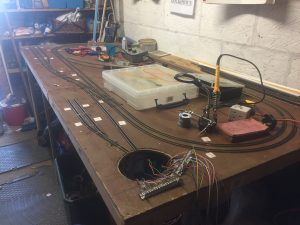
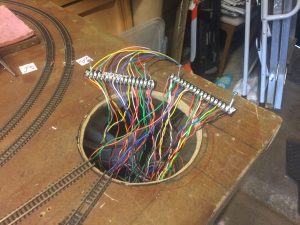
In comes the dreaded Covid and boredom, so Angela suggested that I get my act together, seek advice, and get started on learning a bit about electrics. So in come my two advice helpers John and Rob via numerous e-mails and thanks to them I’ve learnt to how to solder and although the early connections look rough, they work and my soldering has improved to the level of being able to the wiring up tag-strips reasonably neatly! As I’m restricted for space I must have a detachable control box and controllers so in comes the wiring of D connectors and looking at the these I have recently purchased I’m facing a further wiring challenge.
This is where I am at present, March 2021, still learning and progressing, and with the evenings getting lighter, the garden and weeds are calling, so the going is only going to get tougher for a time.
Hopefully I’ll be posting another bulletin in early April with some progress.
Can’t wait to get into our new newly painted clubhouse and there is a possibility that there will be some sort of flower bed along the side facing the road when the time comes.
Regards to all, Ron.


THE SAGA OF ‘RON’S’ HOME MODEL RAILWAY part2
Sorry folks I hadn’t realised that such a time had flown since I promised to write an update for April 2021 and now it is July 2022, Covid is still with us but it seems to be accepted as part of normal life or just a flu.
We are in our clubhouse but unfortunately the promised flower beds outside the clubhouse have not materialised.
So to my layout. The name has been decided on ‘COVID LOCKDOWN’. I have completed all the wiring and the layout is now working in accordance with my original specification, well I say is working, but I still have to build and install the turntable.
The control panel proved to be quite challenging but after a lot of trial and error especially with the DPDT switches, more of that below, it is complete. I was advised by another club member, Peter, to use a continuous wire for the power supplies rather than doing individual connections for each feed to the track that would have resulted in a lot more wire spread over the back of the control panel. (see photo above left). However, one of the tracks from the turntable to the storage sidings I’m still unable to use because there is a wiring fault, I feel I’ve tested all the connections but I still cannot get any power to the actual tracks.
A couple of items have come to light that, if I had known earlier, would have made my soldering a lot easier.
- I used ‘OO’ wire that has a lot more strands, so when making connections especially to ‘n’ gauge track it’s that much more difficult.
- When connecting the appropriate wire to the DPDT 6 switch connections at the base of the switch you have to be careful not to over-heat the switch because it disrupts the plastic workings inside the switch so the switch fails. A PROBLEM I HAD A LOT OF!!
However, back to the layout. Now I had some resemblance of a working layout I needed to look at other aspects of a working layout, I realized to my horror that if I put my control panel and controllers on the front of the layout, as normal, they restricted access in, out and through the garage so another problem. Fortunately, it turns out, that I had been advised not to make my wiring too tight, in other words allow some leeway and there was enough leeway to mount the two units on the side. This now raised another small problem that the two units needed to be easily dismounted if the need ever arose for me to pin the layout to the garage wall for access etc. Here, another club member, Gerry, came to my assistance and made for me ‘v’ battens (see 2 photos above) that then needed a couple of levers to put across so the controllers could not be dislodged.
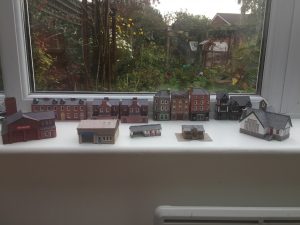
So to scenery. Here I encountered a strange problem in that as the layout is fixed to the wall the boards cannot be moved as in a portable layout so reaching parts of the layout is proving difficult. Problem solved, stand on your tool box and lean over (see photo above right). Each end I have laid a mixture of carved insulating blocks and then covered with a layer of modroc to take the slopes up and over the track at both ends and propose to scratch build the two tunnels. (future project). Of course, this road means that I will have to have a level crossing to transverse the returning loop track. (future project). To operate the reverse loop the returning train will have to stop so a station has been scratch built using a Metcalfe kit as a station building and is being called ‘Astra Halt’ complete with small signal box (photo).
So this is where my layout has got to, not a lot of progress but when do you ever complete a layout especially when you have joys of life, holidays, dog walking, gardening etc.
Will be touch again, hopefully not so long this time.
Ron Drew
“Cromarty” by Colin Heath
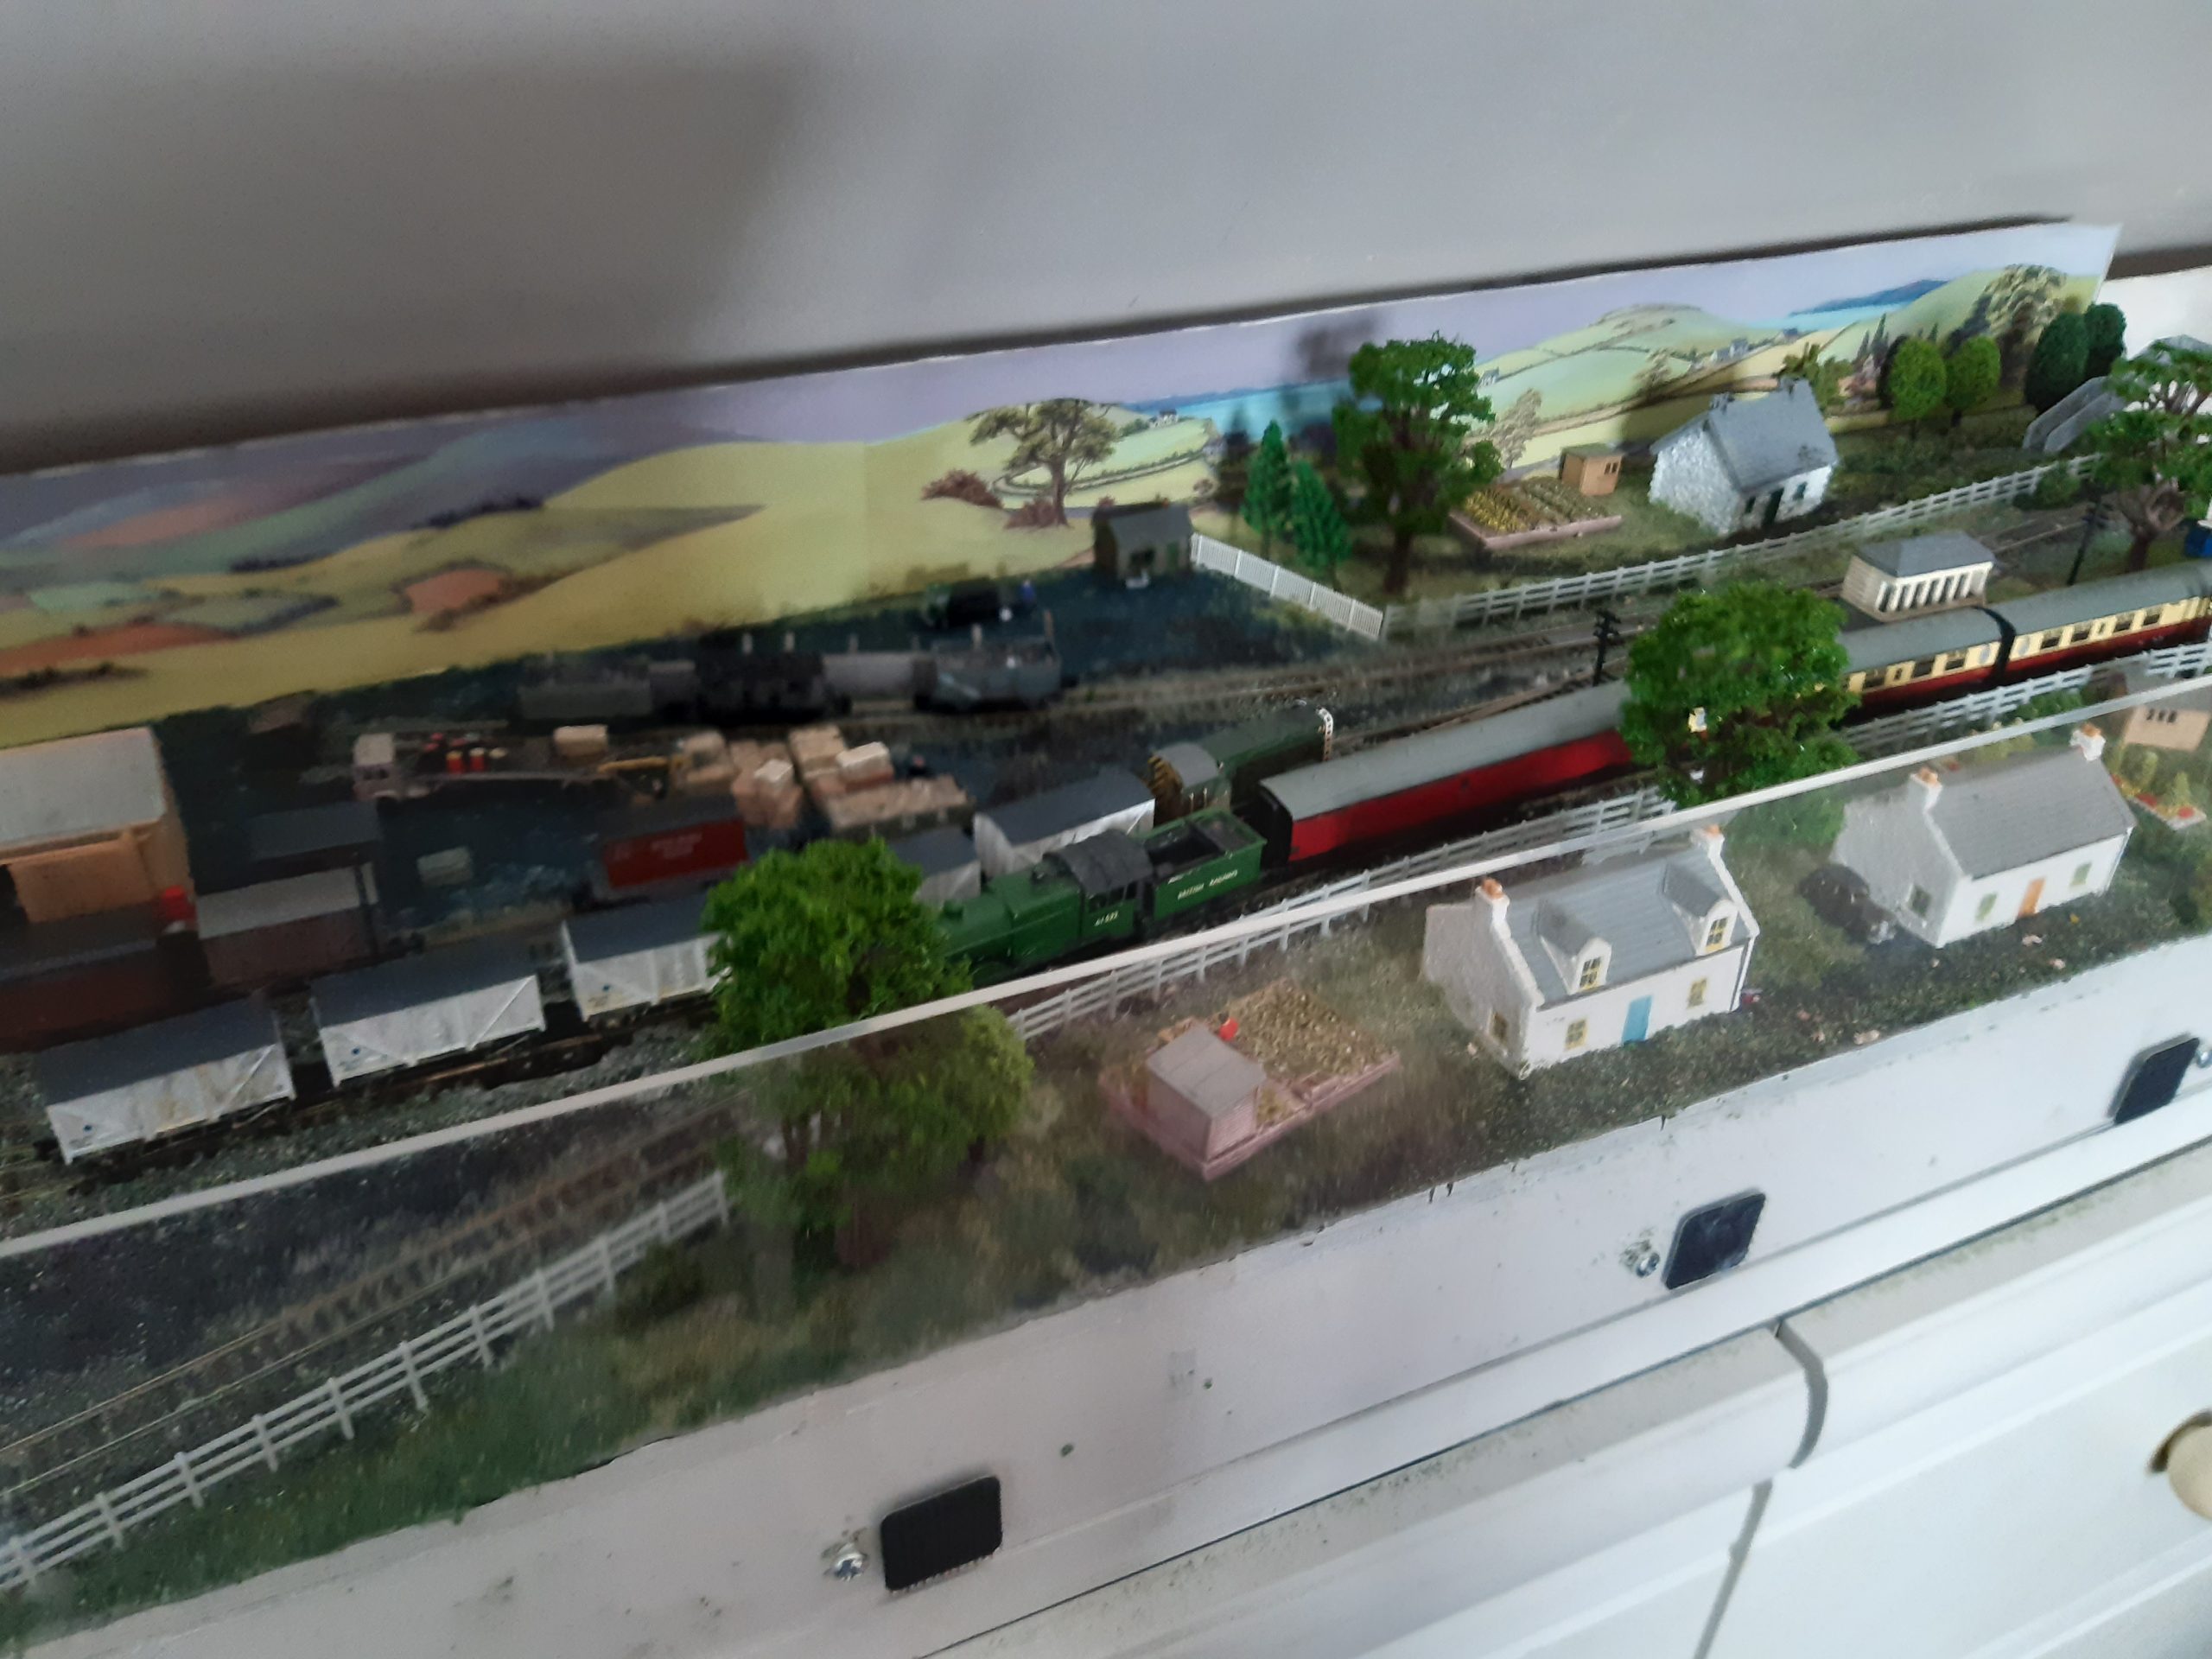
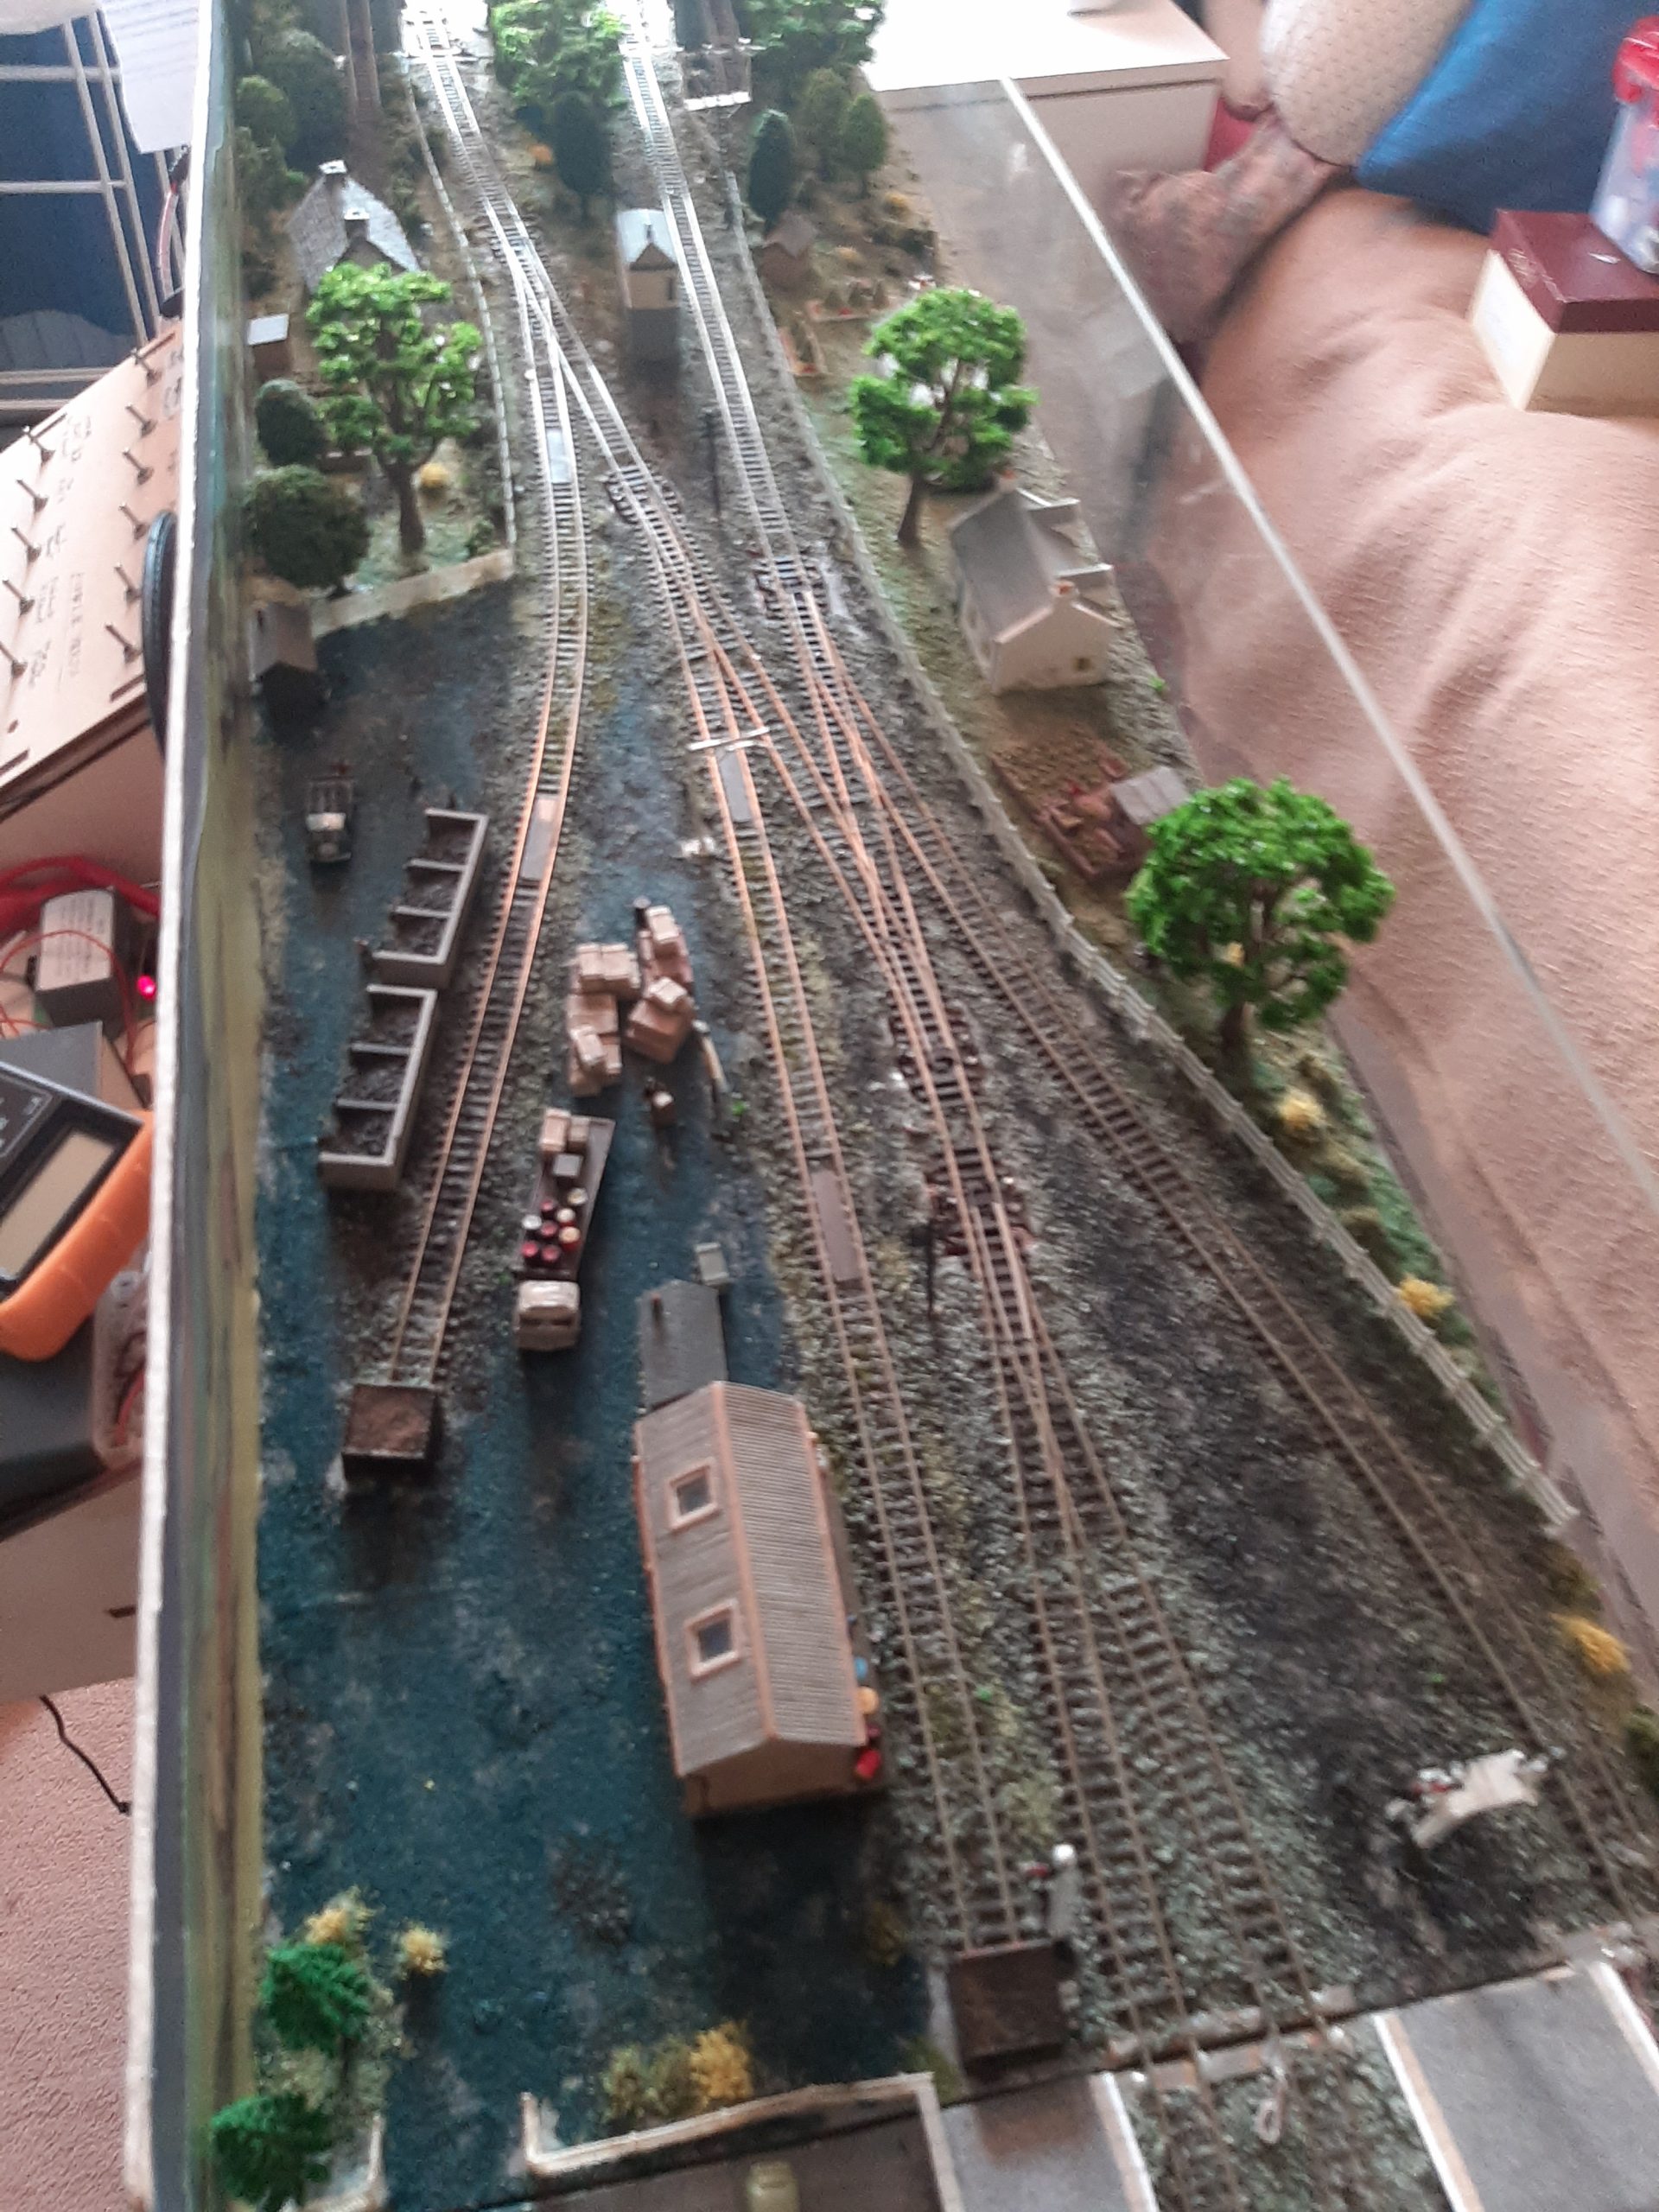
Many will know I retired and dismantled Portpatrick Town at the end of last year. It needed substantial overhaul. It took me a very long time to decide how to replace it with another steam/diesel era layout. Eventually I settled on a ‘might have been’ assuming the Black Isle line to Fortrose had been extended to Cromarty. I them settled on a plan, but by then we had been in lockdown and my first choice baseboard supplier has orders for many months. Eventually I settled on White Rose. Ordered the boards end of July 2020 and they came in a week. Track was down wired and operational before end of Sept. Such is the benefit of not much socialising and doing church mainly by Zoom. Scenic work was well under way and it is now (2023) ready for shows. Building it has been far easier than recent layouts as a result of the neurosurgery stopping the tremor in my right hand. The main fiddle yard actually has 5 sidings. It will handle up to a 5 coach plus 460. I can run it as fully steam up to fully diesel.
CROMARTY – A 50s/60s N gauge Terminus on the Black Isle
Built and owned by Colin Heath, member of SW Herts MRS the N Gauge Society, and N Gauge Forum.
Available for Exhibitions.
Many schemes were thought up for Railways on the Black Isle, north of Inverness. A branch was built from Muir of Ord to Fortrose. This layout assumes that it was extended, as some tried to do, to the fishing and holiday resort of Cromarty. It is assumed that while the Highland/LMS dominated, the GNoSR/LNER obtained the right to run trains from Aberdeen and other of their destinations. Tourist and fish traffic initially developed though such a line would have succumbed to the Axe by the mid 70s.
We will often start the day using steam locos but in the afternoon we may decide that motive power progresses via green diesel to blue diesel, with a class 101, 105,120 DMU, Class 20, 24, 25, 26 and 27 locos featuring.. And the odd interloper in both eras. Apart from trains to Muir of Ord to connect with Kyle and Far North Line services, through trains are run from Inverness, Aberdeen and even Perth. On summer Saturdays there may be a train from Glasgow.
Baseboards are plywood kits from White Rose. Track is Peco code 55. I have used a number of kit buildings from Metcalfe.
Notes for Exhibition Managers
Value £4000 One power point. Self supporting
2-3 operators depending on show. 2-3 Chairs please
Baseboard Size 9ft 6 ins by 1ft. Footprint say 10ft by 6ft. Plus access!
Colin Heath, 47 Hibbert Ave, Watford, Herts WD24 4HB. Tel 01923 464615
Mobile 07941 566951. E mail: colin.heath47@ntlworld.com
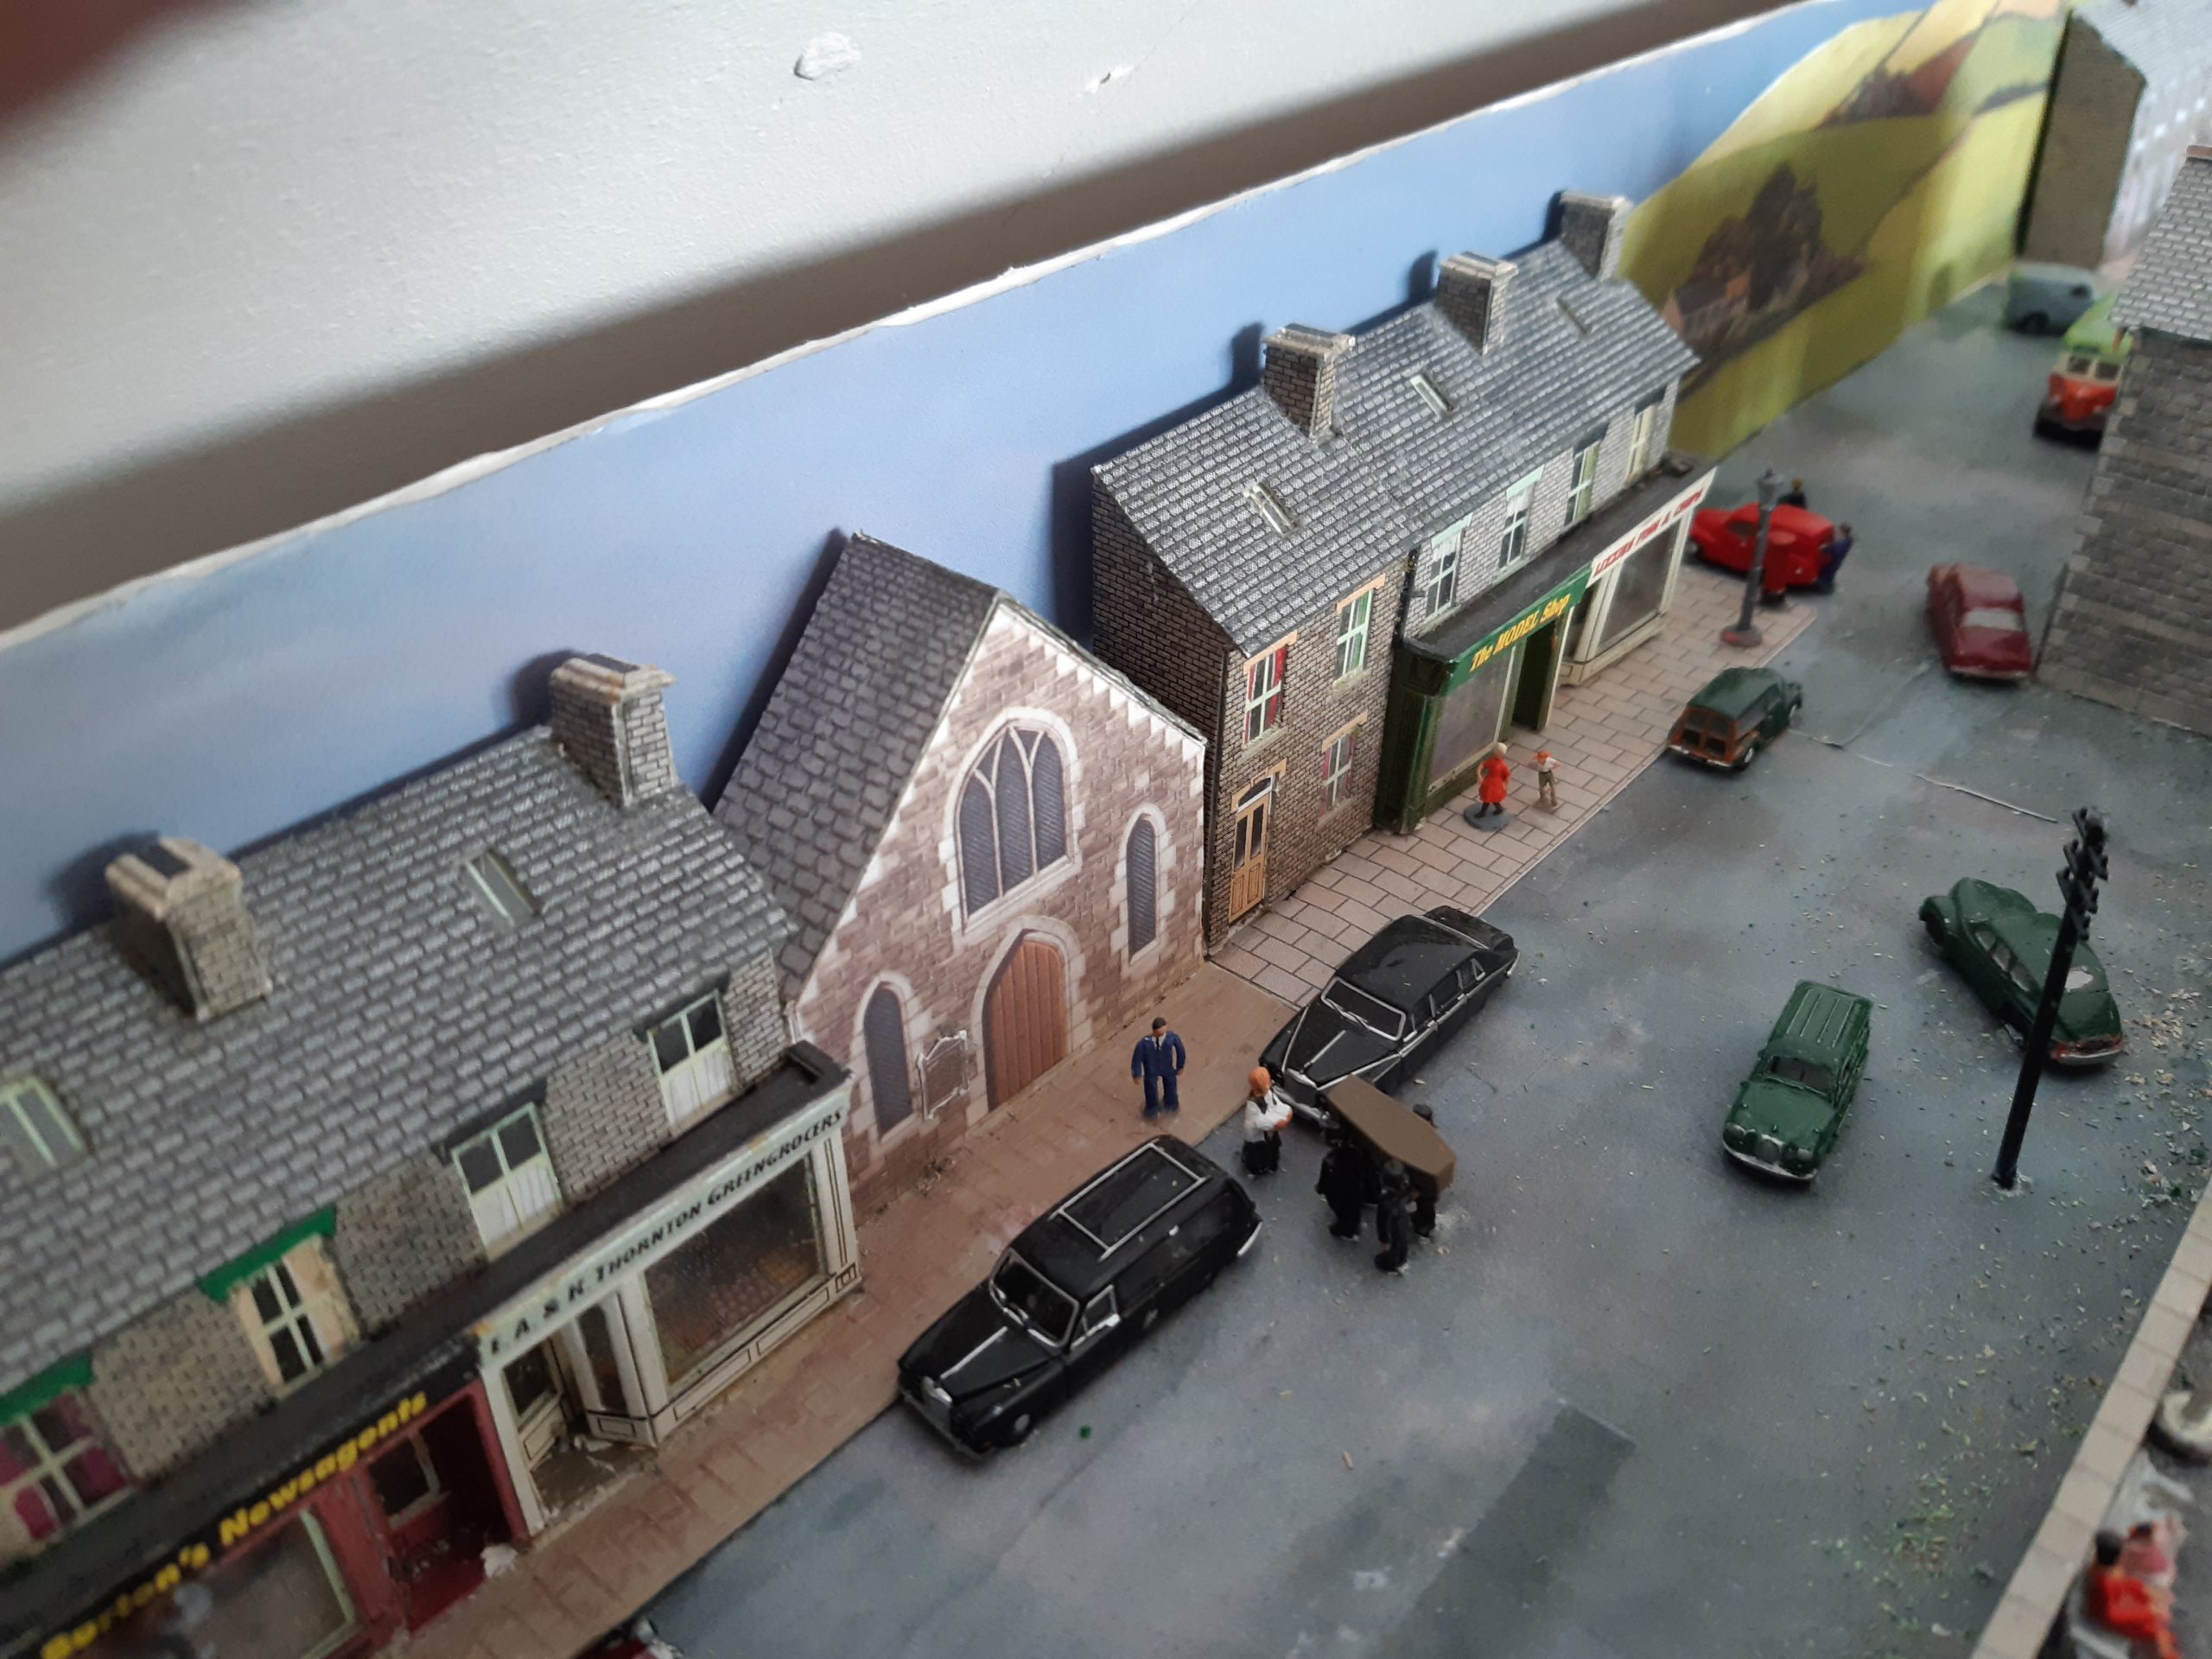

“The Road to Listowel”, by Rudi Newman
Using a mix of traditional techniques and modern 3D-printing, this is a fully working micro-layout in 1:148 N Scale depicting a level crossing just outside Listowel on the famous Listowel & Ballybunion monorail. Designed with a fiddle yard at each end and a magnet-based runner system for propulsion, several trains have been built for the layout including several variations (depicting modifications over the years) of the line’s Hunslet 0-3-0 tender engines. The 3D parts are now available via Newman Miniatures, and a video of the layout in operation can be found at https://www.youtube.com/watch?v=W2qugva47no
.
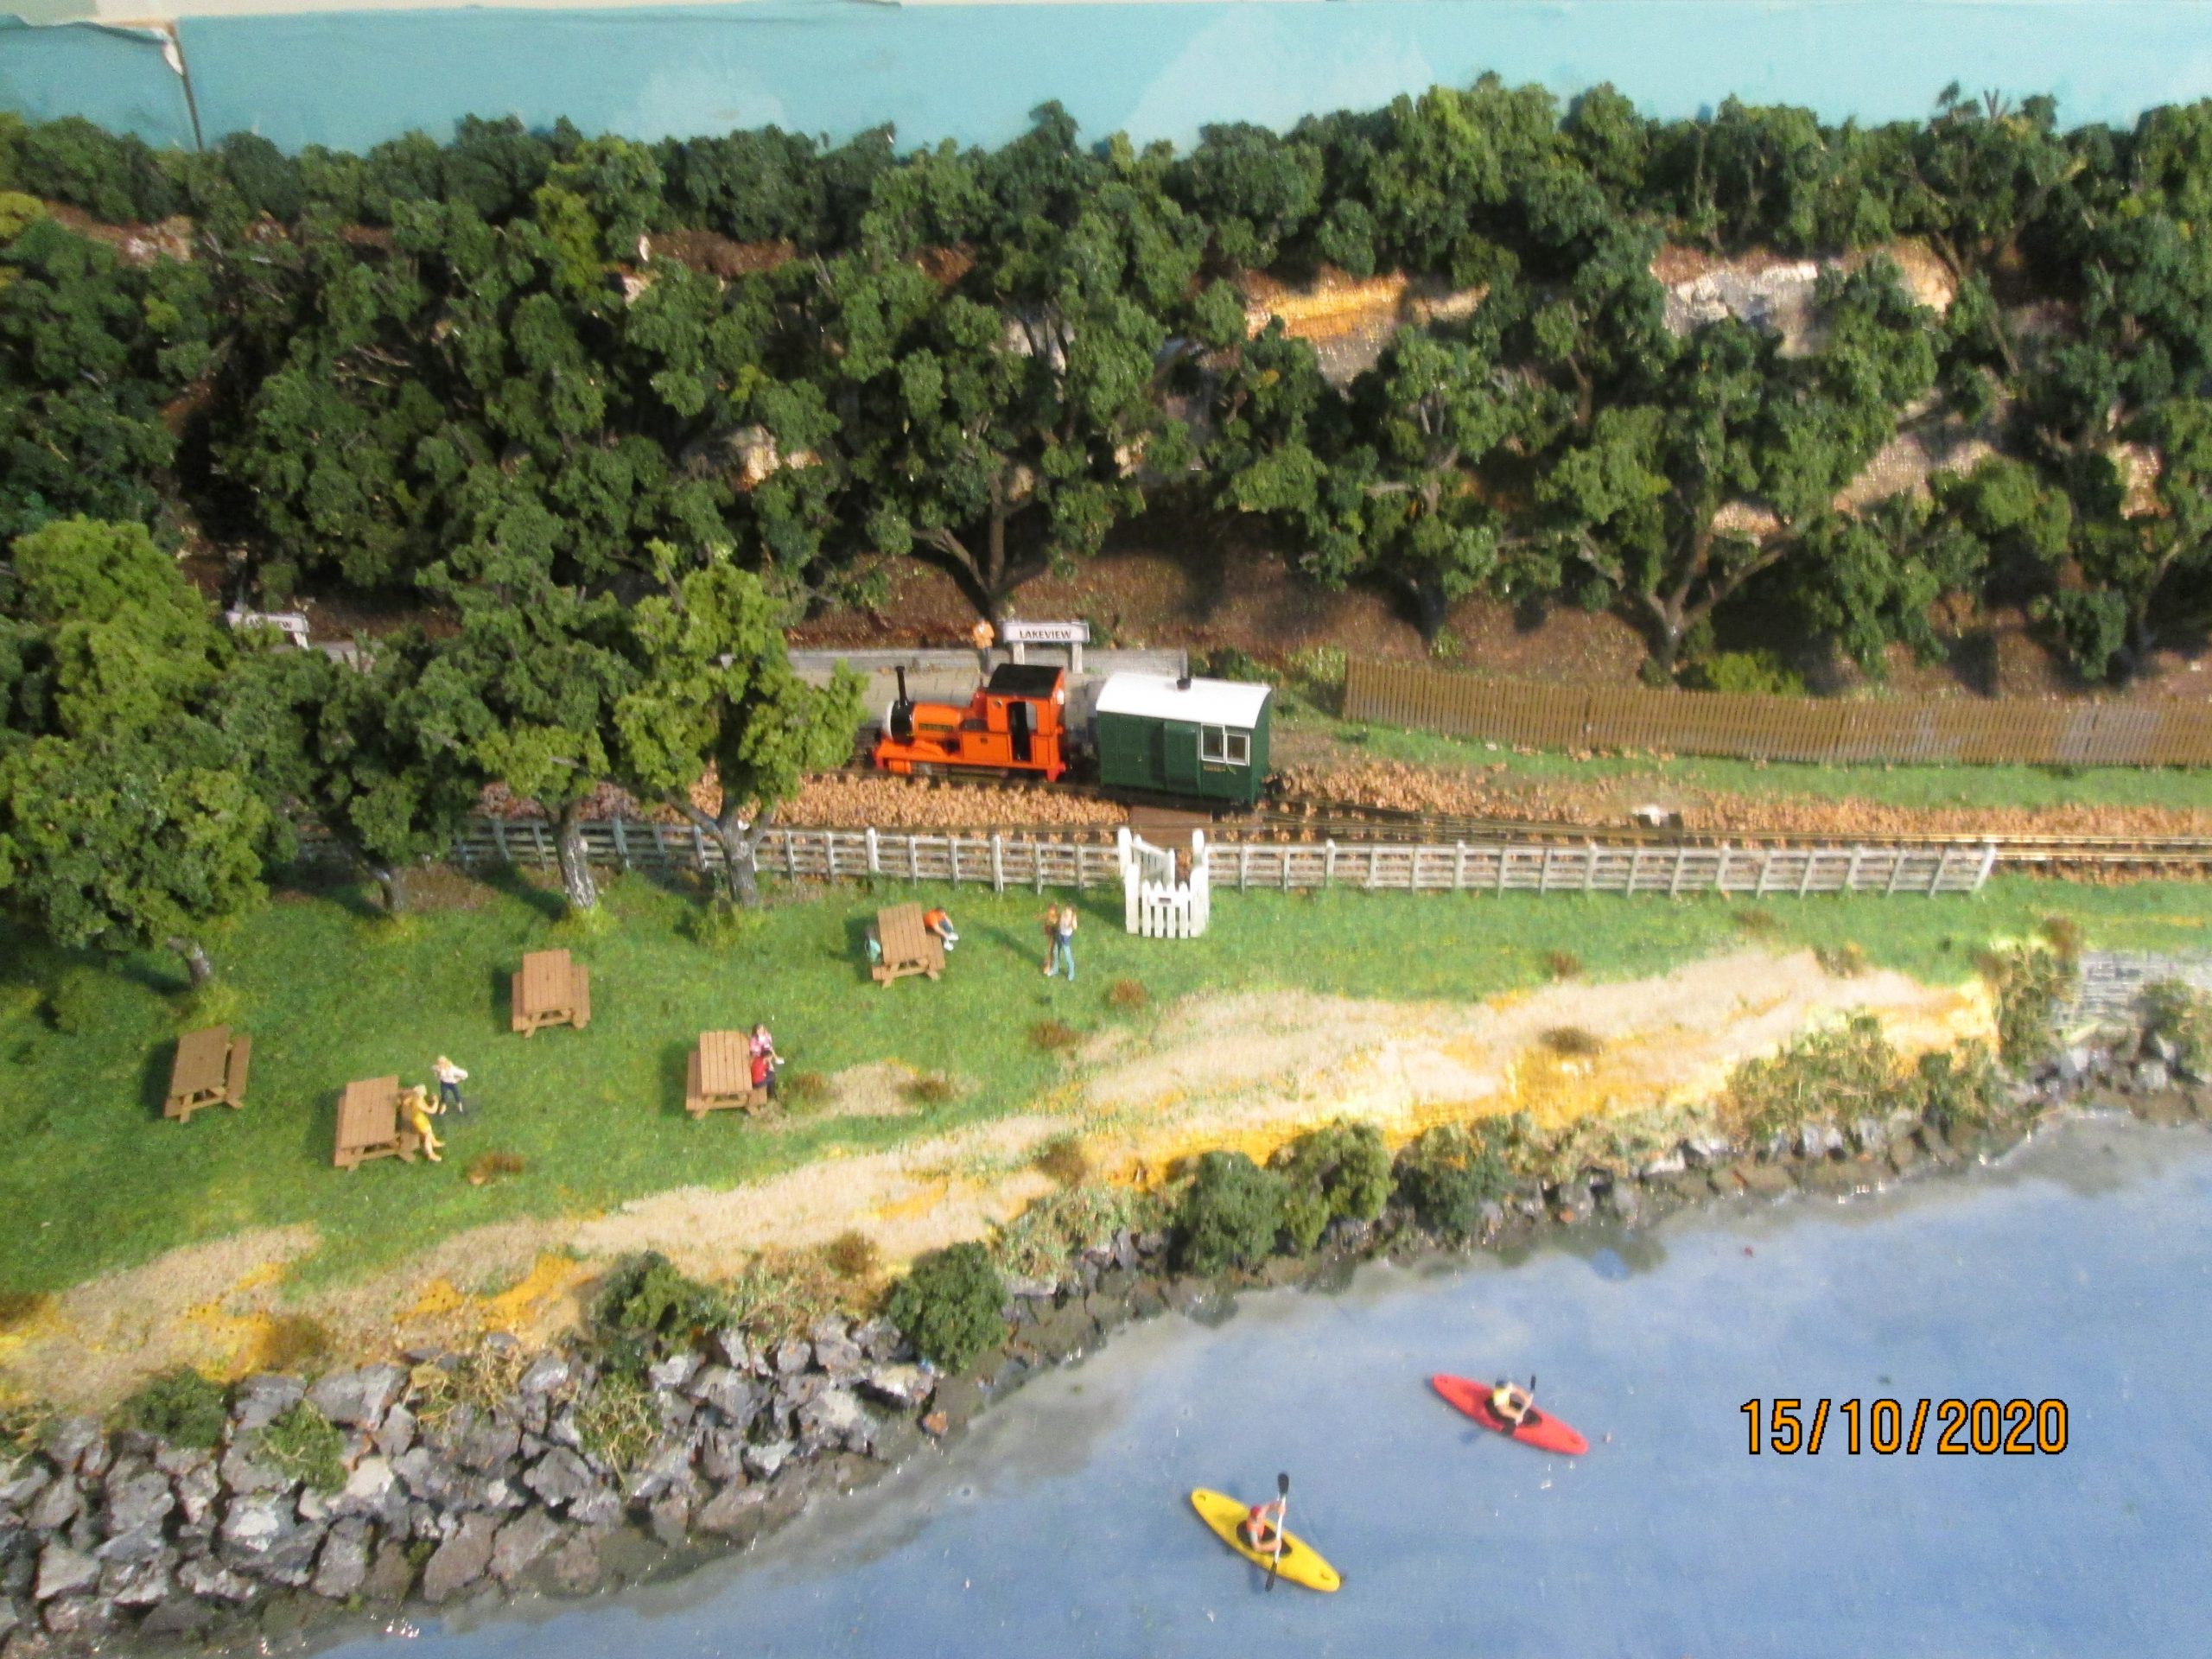
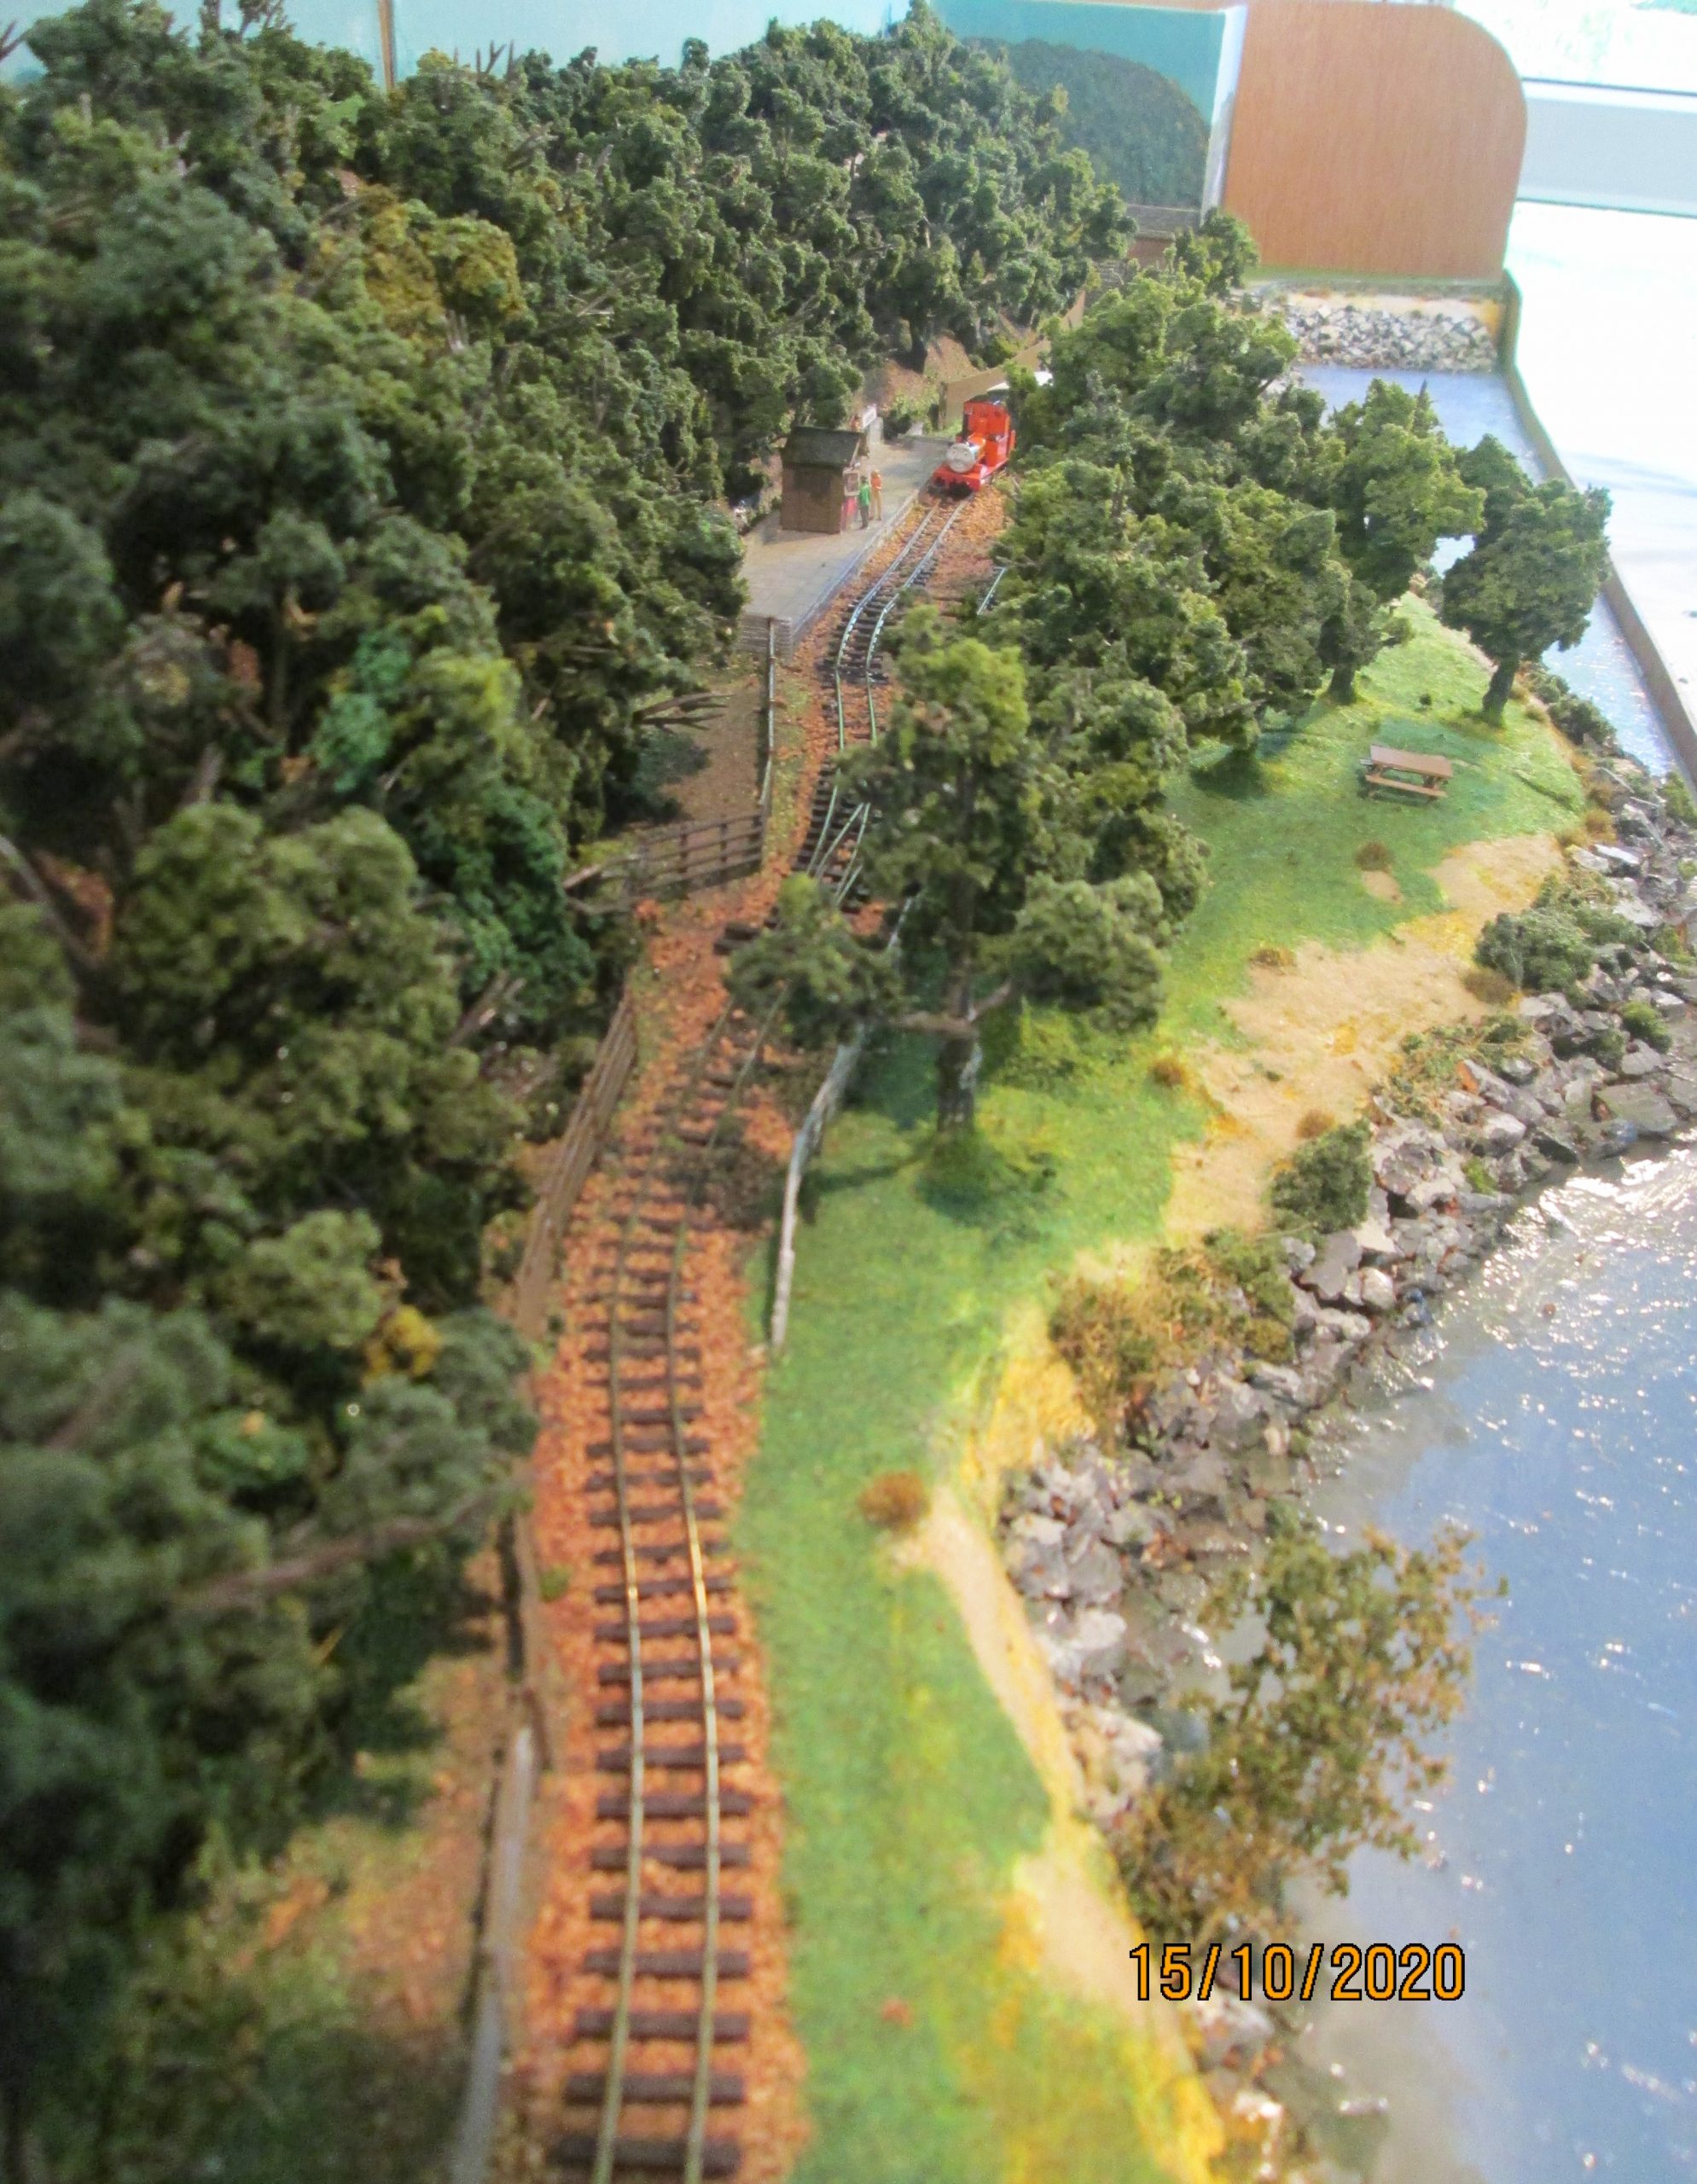
“Llyn Cenydd”, by Ken Halse
Llyn Cenydd Railway (009)
The Llyn Cenydd Railway is a fictional narrow gauge lakeside railway inspired by a visit to the Narrow Gauge railways of North Wales. It is loosely based on features of the Llanberis Lake Railway which runs alongside Lake Padan. The layout is named after the sixth century Welsh saint of that name, coincidentally the translation of the owner’s name.
The Llanberis Railway runs alongside Lake Padam for a distance of 2 miles (3.2km), which in 00 scale is about 140ft (42m), a little impractical to model. However, it does have a turn-round loop at the end, and a run-round loop in the middle, just like the model!
The layout is manually controlled and split into five sections to enable two trains to run and pass each other in the loop. The points are motorised.
The baseboard is made up of 80mm ply stepped into two levels. The track is Peco 009 code 75 main line and the operation is via two Gaugemaster controllers which can be switched between sections.
The back scenery is constructed from polystyrene and plaster cloth painted and covered with various scatters. The trees are Woodland Scenics kits and the rocks are broken up bits of cork.
Pending the release of Bachmann’s quarry locomotives at some future unspecified date, there will be a converted Thomas series Rheneas pulling the train.
Unfortunately there are some tweaks required to improve the operation!
Photos below.

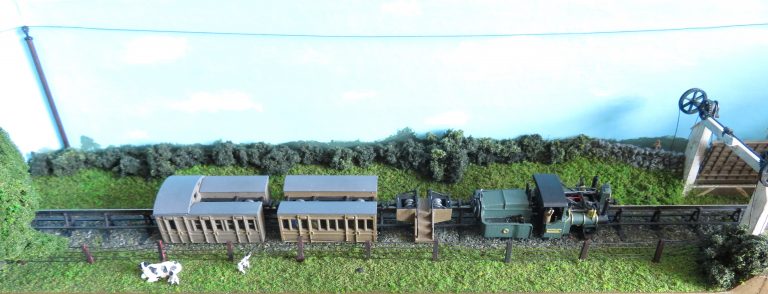
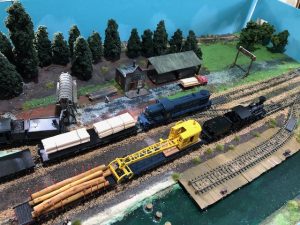
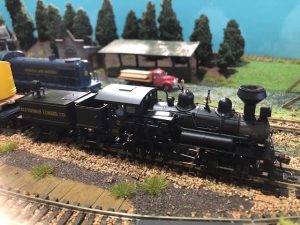
“Fenworth” by Ken Halse
Available for Exhibitions.
This layout is was built especially to display a 3-truck Shay locomotive in HO scale.
Accessibility to timber forests via steep inclines and sharp bends led Ephraim Shay, in the 1860s, to develop the idea of having an engine sit on a flatcar with a boiler, gears and trucks (bogies) that could pivot. The Lima Locomotive Works of Lima, Ohio, built Ephraim Shay’s prototype engine in 1880. Prior to 1884, all the Shays Lima produced weighed 10 to 15 short tons and had just two cylinders. In 1884, they delivered the first 3-cylinder (Class B) Shay, and in 1885, the first 3-truck (Class C) Shay. The design was so successful in both narrow and standard gauges that it gave rise to over 60 years of manufacture and about 2770 locomotives of increasing power and size, the last of which was produced in the Lima factory in 1945.
The Ely-Thomas Lumber Company operated standard gauge lines in Fenwick, Nicholas County, and Worth, West Virginia, but details of the works and track layouts are sparse. They were the last company to operate steam locomotives for lumber transport, stopping operating in 1963.
This layout is based in the late fifties. What is right is the stock (with a bit of licence) – of the many railways operating in West Virginia in that period the key survivor was the Norfolk and Western as it assimilated a lot of local competitors. The crane from the nearby Chesapeake Railway has been ‘borrowed’!
The sawmill is ‘correct’ but probably not in this location – this type of mill was common in the Pacific North West forests. The steam driven ‘headrig’ inside is a typical as well, although many were later converted to electric power. The quayside is an invention (based on another logging layout I found online) but the logs really were slid into the water and floated down to the sawmill.

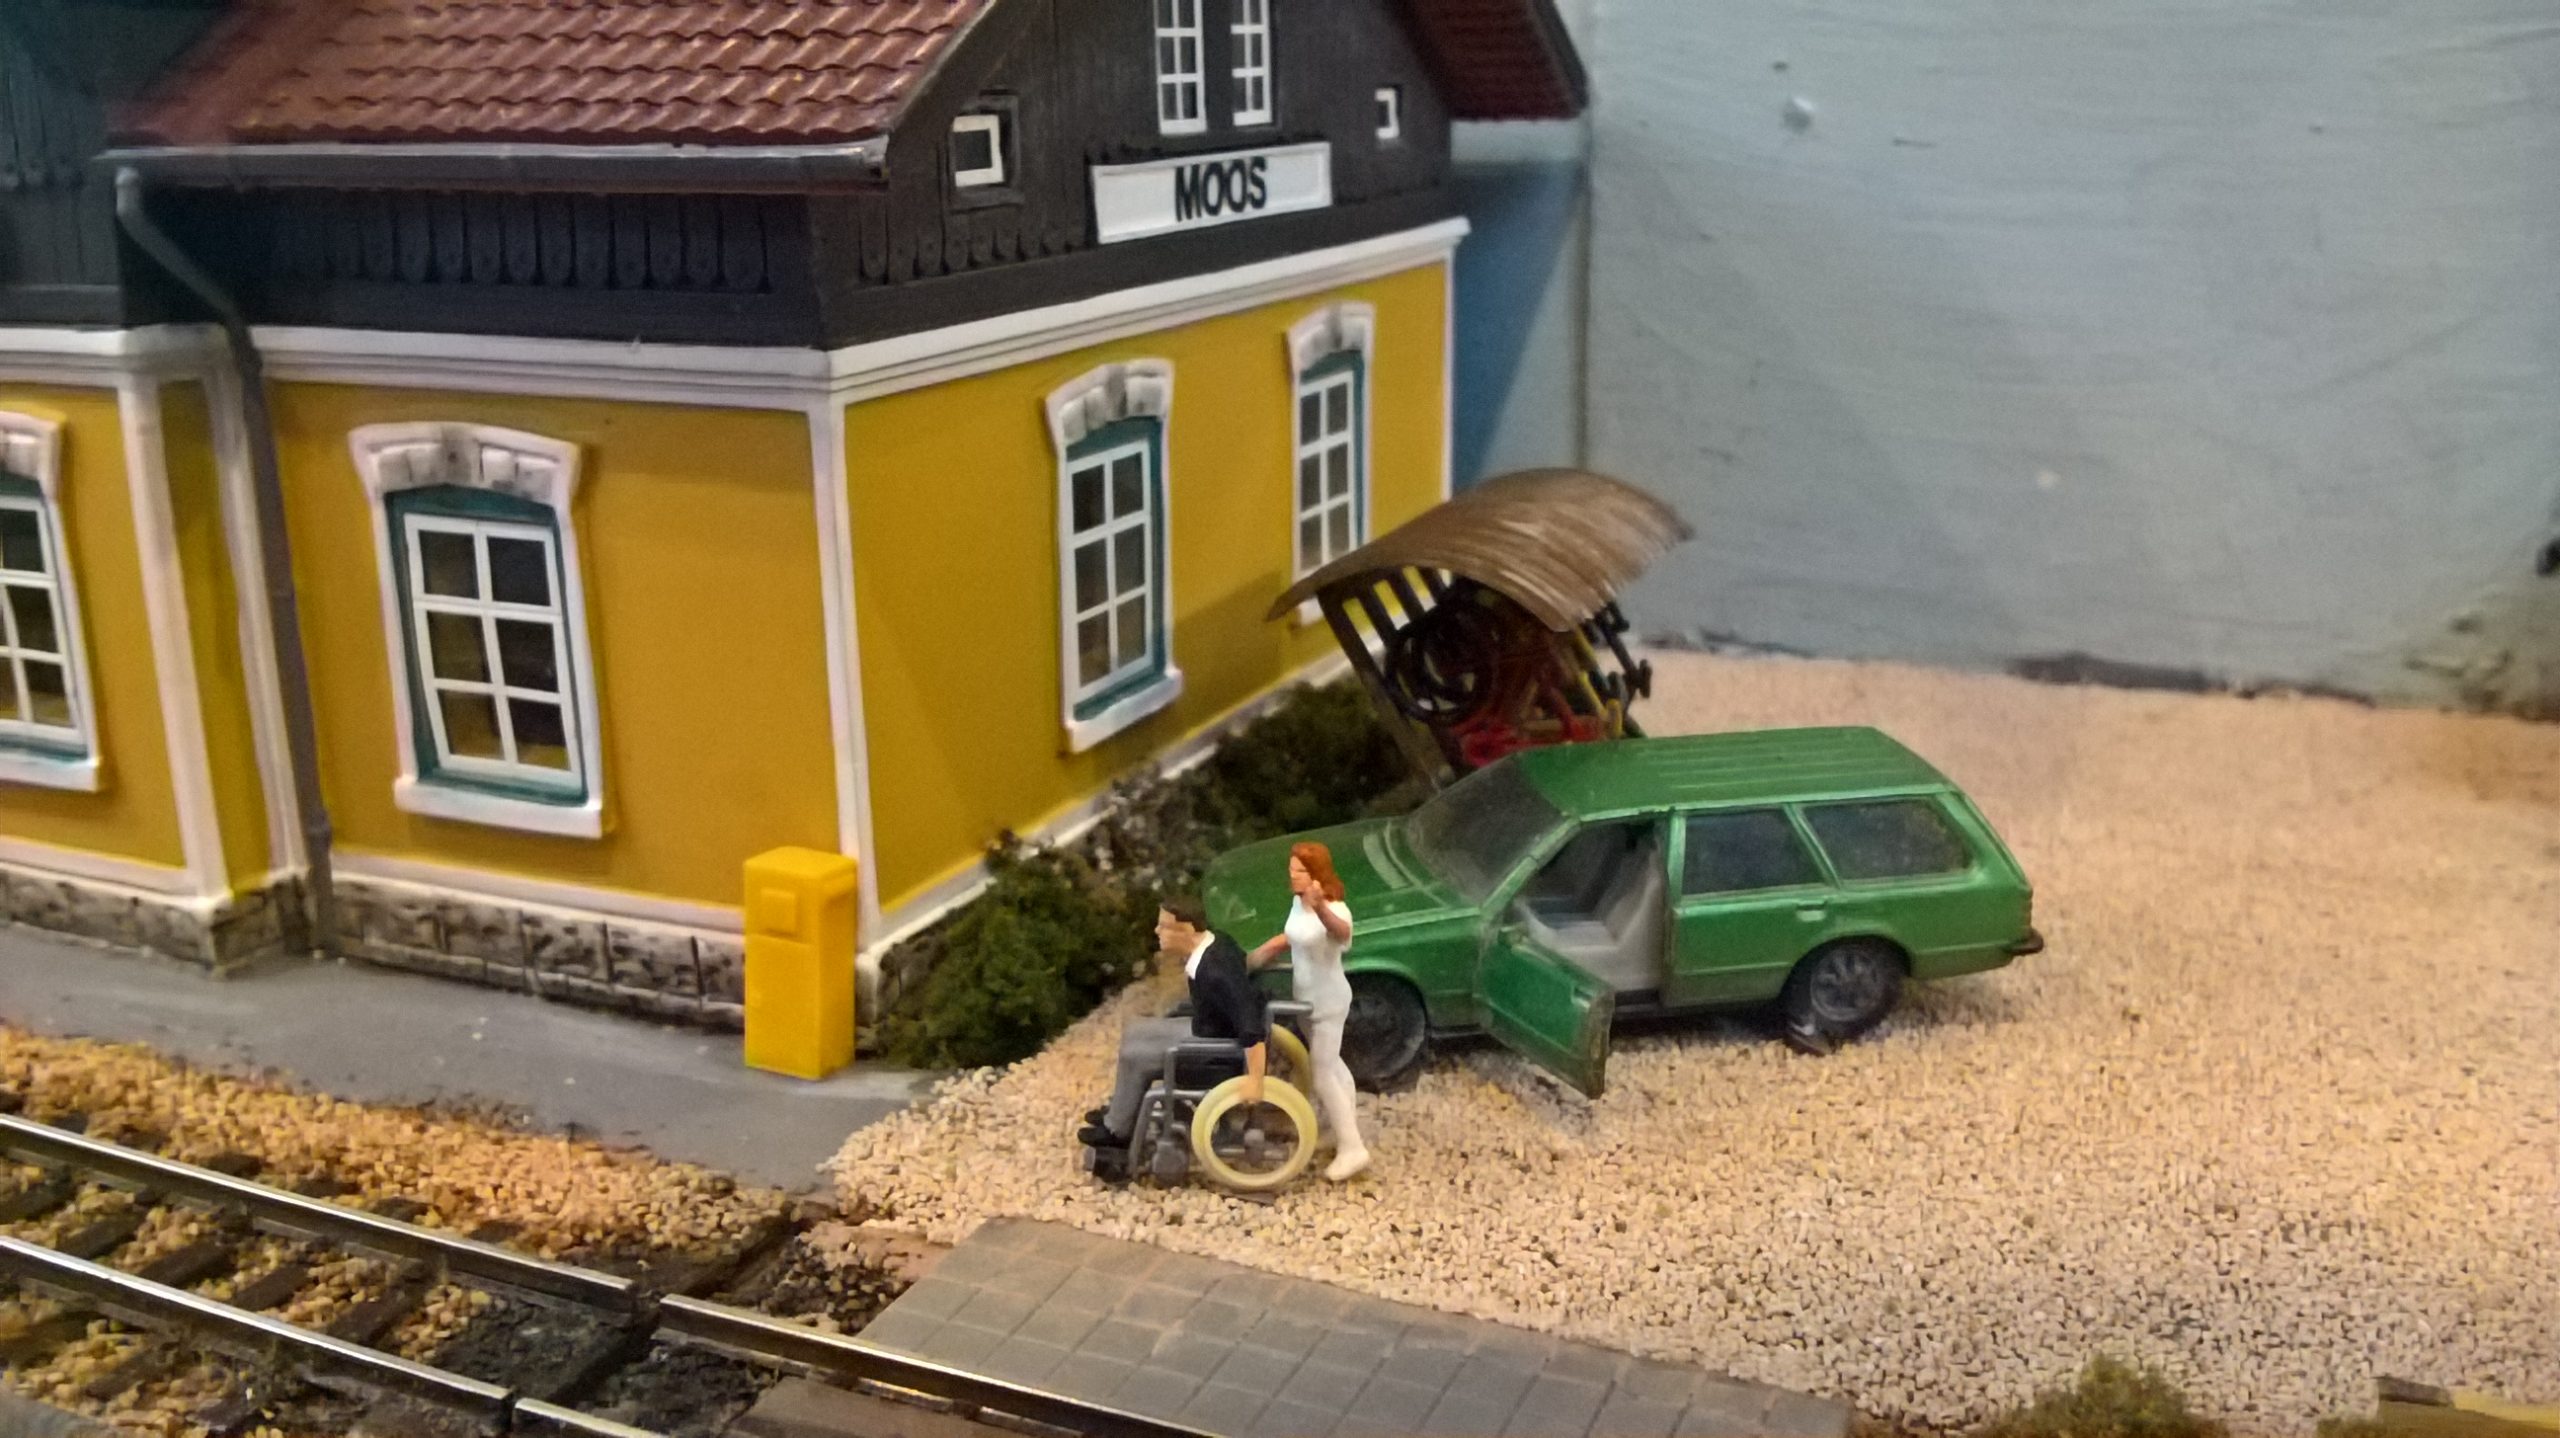
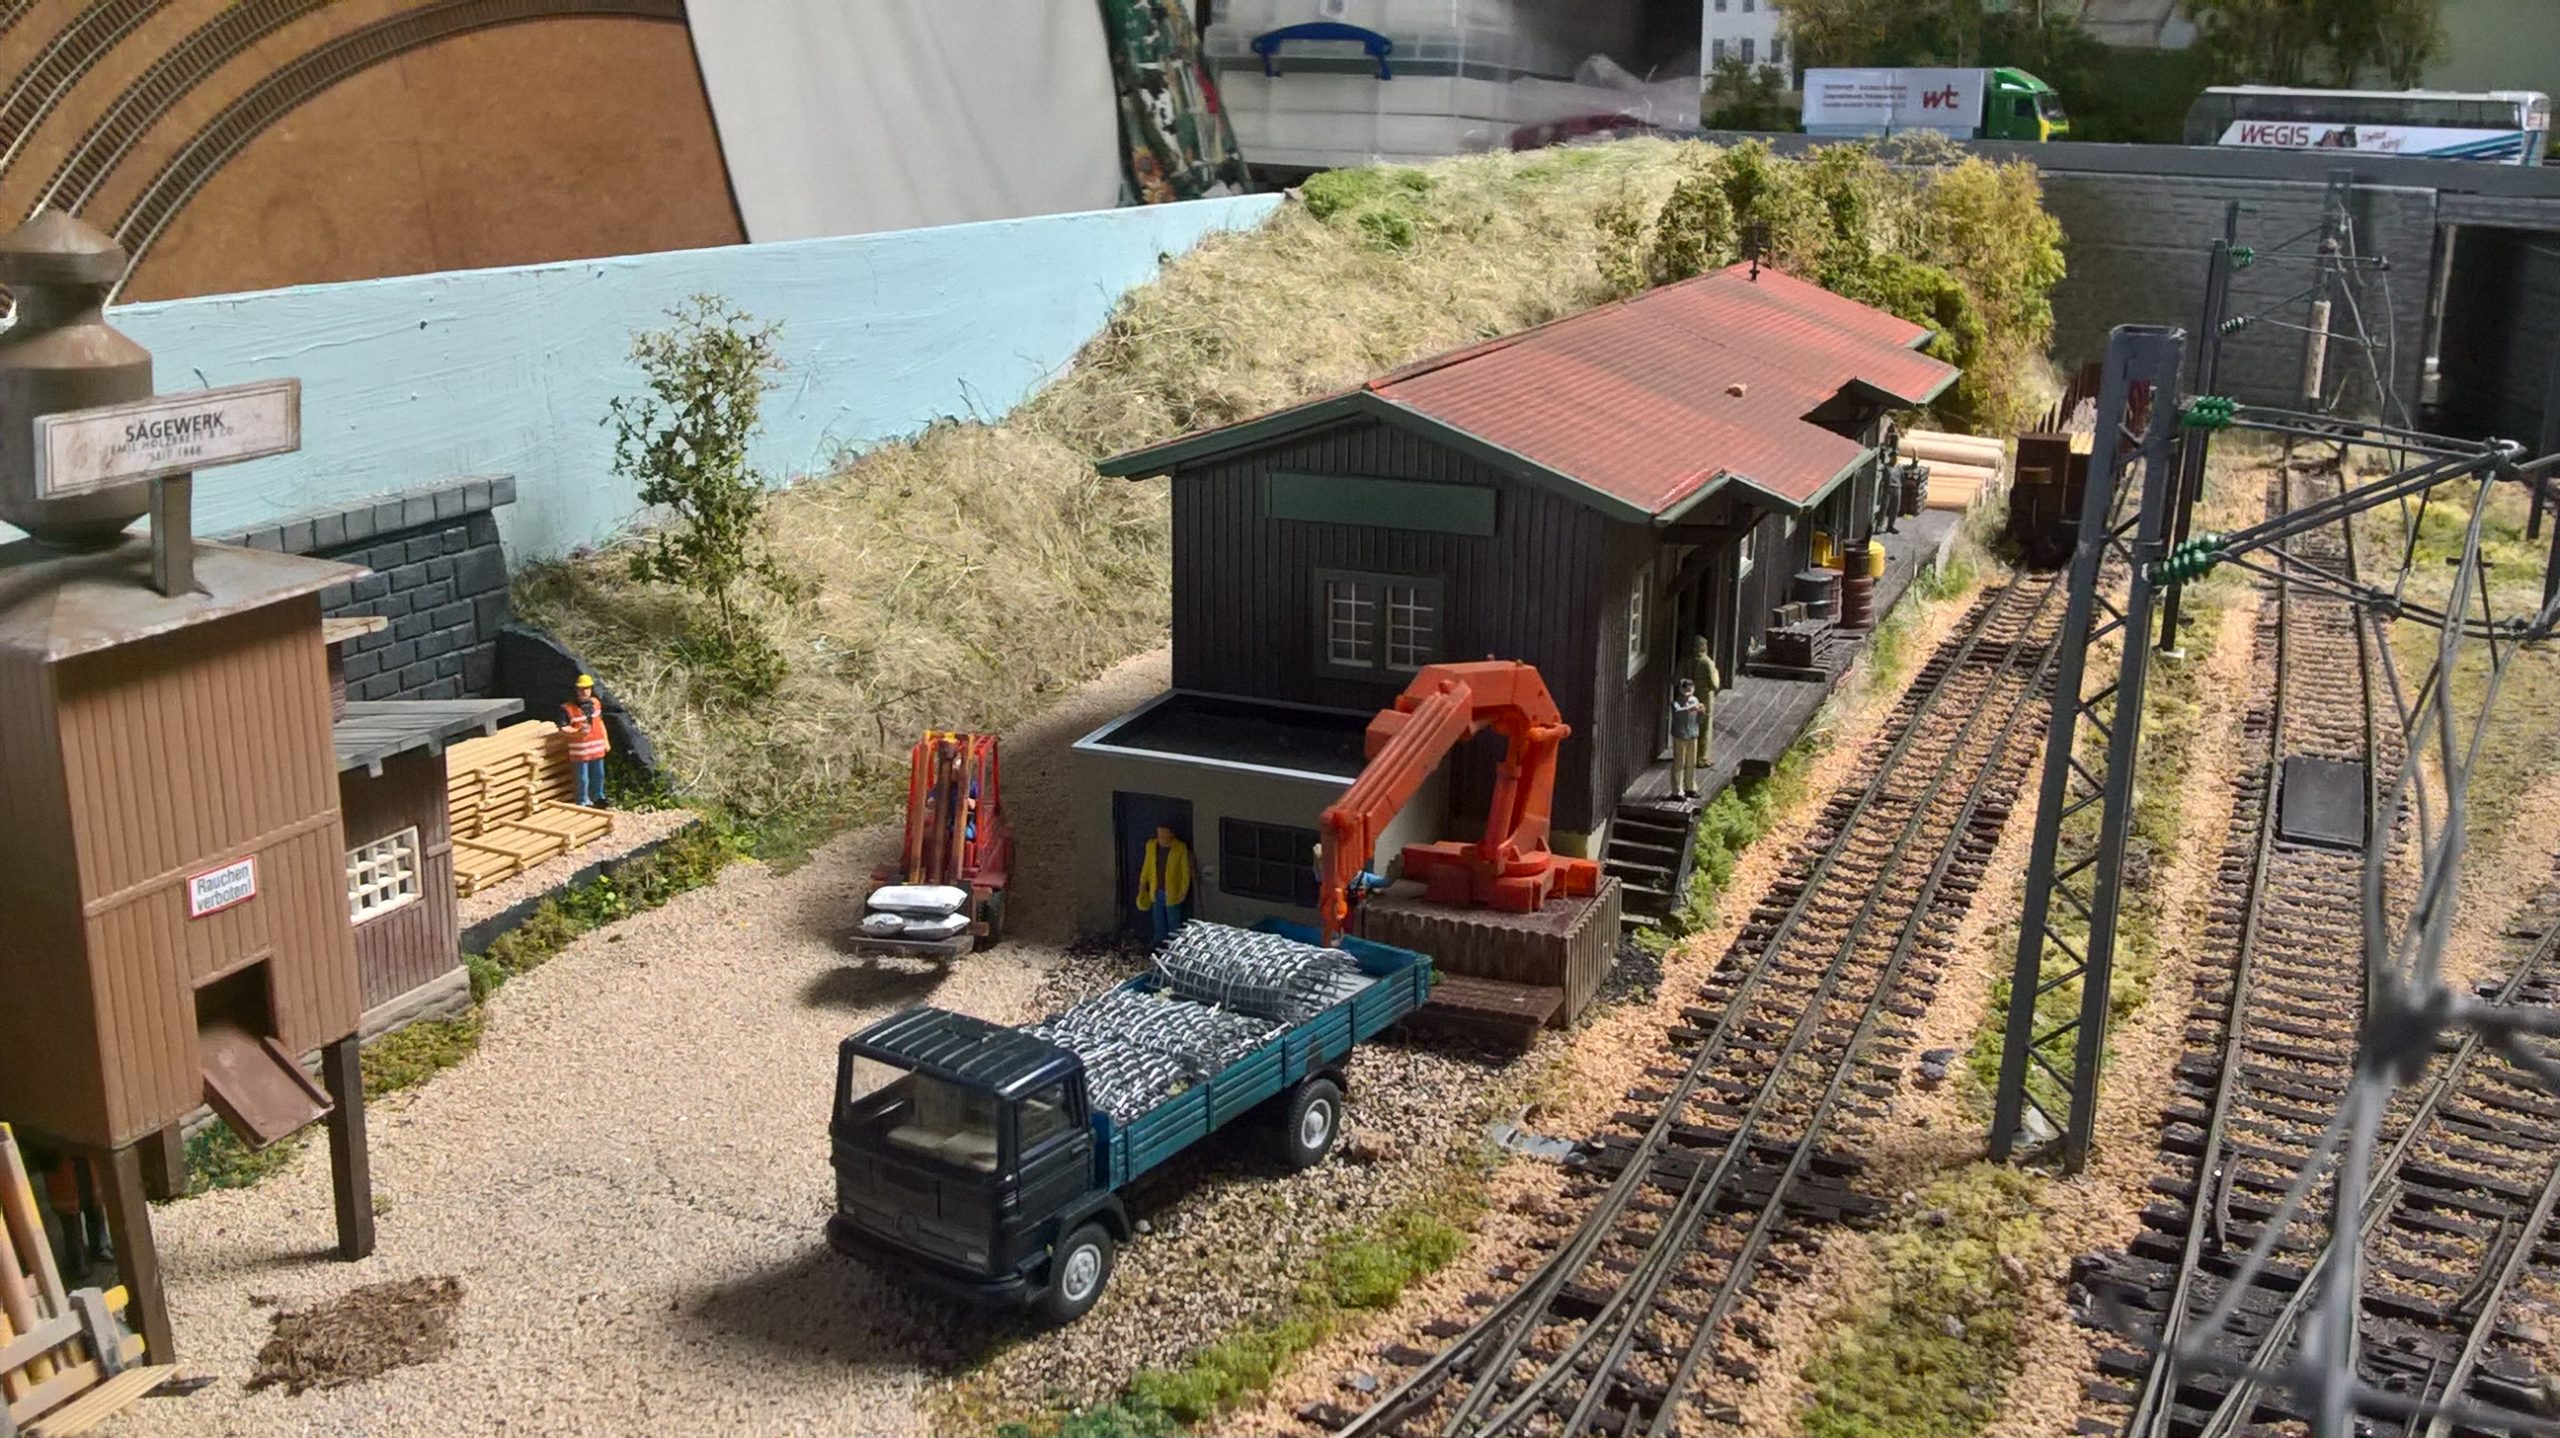
“Moos”, by Mike Roualle
Available for Exhibitions.
I could have built another terminus station, but years ago I owned a rural through station with a narrow-gauge feeder line and had always had a yen to go back to that concept.
I had a copy of the book published by the Austrian Railways group in the U.K. “Austrian Model Railways Track Plans” which proved useful in my planning.
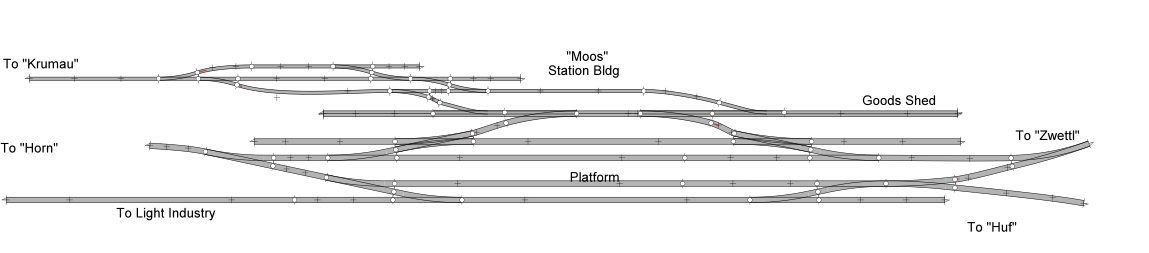
In it I was intrigued by a plan for a closed junction station called “Pirawarth” in the Weinviertel in lower Austria, which would become the basis for “Moos”. This was to be a secondary electrified route running between Horn to the east across to Zwettl in the west; with the narrow-gauge running down to Krumau am Kamp and a diesel branch to Huf. Whilst the station plan itself was fine and I could fit it into the footprint of the new layout. I felt that it needed to be slightly tweaked in order to add a narrow-gauge feeder line. Looking through the book I espied the pages covering “Klaus” (CM December 2017) on the Pyhrnbahn and thought there was a distinct possibility of marrying the two together in some way. I had in stock a fair bit of the Tillig narrow gauge and dual gauge trackwork and so a germ of an idea started to dawn.
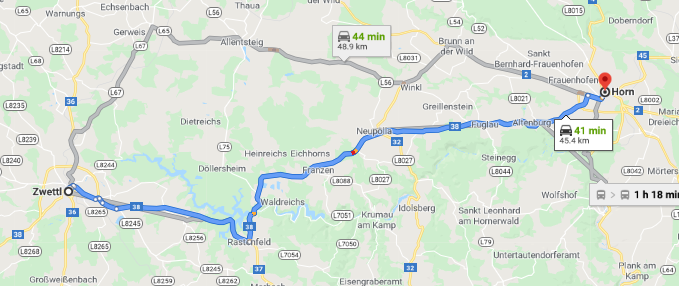
The places mentioned in the article are real places. Moos does exist as a place but not where I have modelled the layout and it did not have a railway: The towns of Horn + Zwettl do have stations; but they are not connected directly. Krumau
exists but never had a railway and Huf is a figment of my imagination (use the dictionary for the translation for the meaning).
Construction
The layout consists of six 3’x 2’ boards plus two 1’x2’ boards .Each board being constructed of seasoned 2”x1” timber with ply tops for the trackwork, each joined together by 2 pattern makers dowels plus two sets of bolts washers and wing nuts. I have also re-used the same sawhorses (available from a well-known DIY store) which I used for Klapping and added several extra single legs for stability as the base boards are now wider that the sawhorses.
Trackwork
The track used is Peco code 75 using electro-frog points plus Tillig dual gauge and narrow gauge trackwork – the points on the narrow gauge are from the Peco range as they appeared to function better than their Tillig counterparts -which have no springs . I again used the Woodland Scenics underlay to deaden the rumble. The Peco track was all brush painted with Railmatch paint. The Tillig track comes in a burnished colour which really requires little attention. All the trackwork was ballasted using Green Scene N gauge ballast of various colours using their ballasting tool. The points were done with a small spoon a brush and a steady hand. The layout was then sprayed with a PVA water and washing up mix. (I used a syringe around most of the point-work).
Catenary
This is from the Sommerfeldt range, however this time due to the location and the baseboard back-scene heights, I have opted for the smaller metal post masts with a few of their smallest tower masts in appropriate positions. The masts and running wires were all primed with car etched primer and then sprayed with a coating of Halfords grey primer.
Electrics
The control is analogue. Once again I have used the plastic boxes available from Hobbycraft, though this time I have had to use two because of the number of points and switches and the fact that there are three standard gauge and one narrow gauge fiddle yards.
Both boxes have CDU’s mounted in them for the Peco point motors and plugs for my trusted KPC (non-feed-back) controllers. The Tillig points have their own transformer as they use a Fulgarex style of motor and cannot be operated on the same transformer as the Peco ones.
I could have gone down the DCC route but as I have said before having so much stock it would have proven too costly and apart from anything if I need an operator at short notice its far simpler to teach someone with a DC handset.
Back Scenes
Back-scenes for me have always been a bit of an issue – there are some beautiful commercially available ones, however none appeared to be suitable for the area I was modelling- also in general I thought they were overpriced for the amount I was going to require for the area behind the bridges. The other point was that the back-scenes themselves would need to be removable for when the layout was in transit in the car. When it came to the back-scenes I decided to paint my own. I have in my possession 3 books published within the Eisenbahn Kurier range from Eduard Sabmann concerning OBB railways. These are all colour photos which cover steam diesel and electric locos and rolling stock in various settings across Austria and were especially useful for inspiration.
Trains and Operation
I have stated previously that the whole idea is to introduce the general public to the railways of Austria and to have fun whilst doing it.
I have a wide range of rolling stock available to me for the layout and so I can run it in various eras. The branch being worked by the ubiquitous 2 car Triebwagen and the four-wheel green coaches behind one of the steam locos and a 5070 single car unit. The main line has mix of green coaches of various types plus Schlieren orange and cream coaches plus the more modern 4020 EMU.
My preference is the end of steam with diesel and electric starting to take over. I have made some careful acquisitions and have a range of locomotives at my disposal of all 3 genres.
The narrow gauge has a variety of stock sourced from many companies – the Krumau Eisenbahn has so far failed to repaint its stock into its home colours of dark green.


Dudley Frey Extension
On the Dudley Frey extension (DFEX), the ‘station’ baseboard is being worked on. The wiring to the track sections is complete, the point motors have been installed and the point motor wiring is complete. The board is now ready for scenery.
Next, we would like to wire up the sections and points of the ‘village’ baseboard.
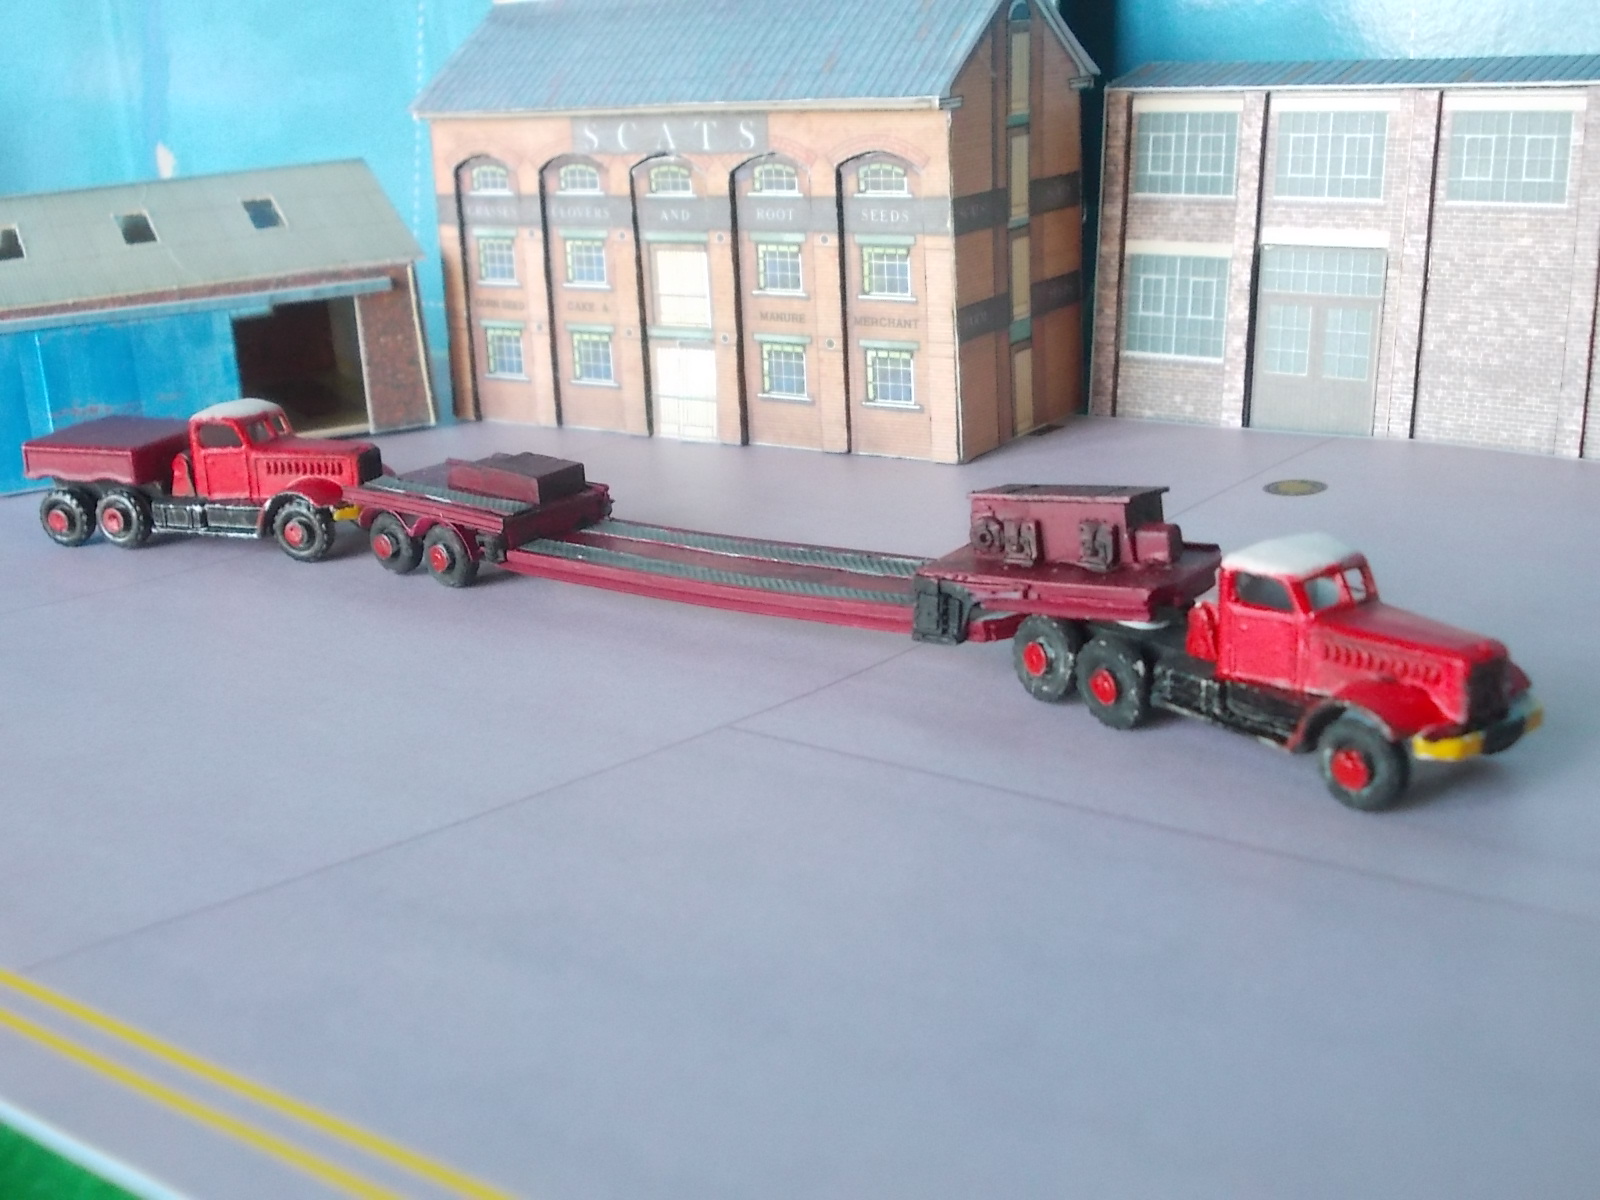
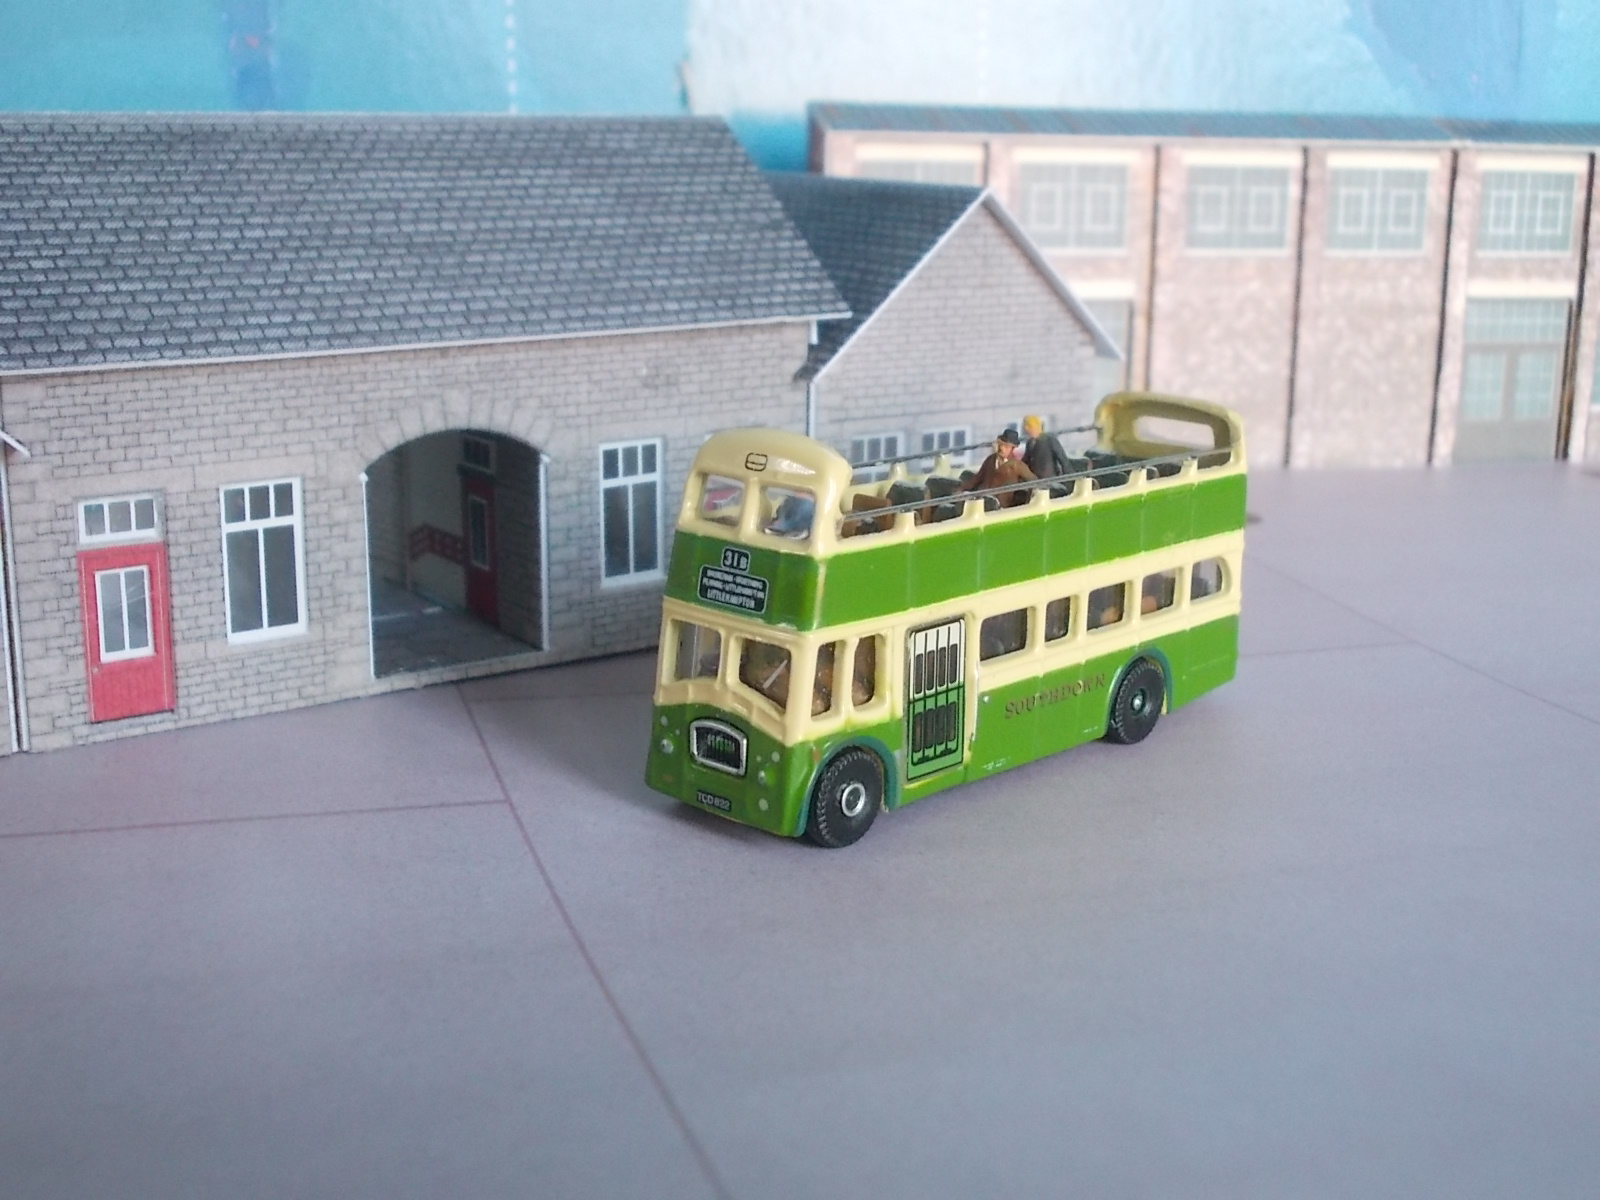
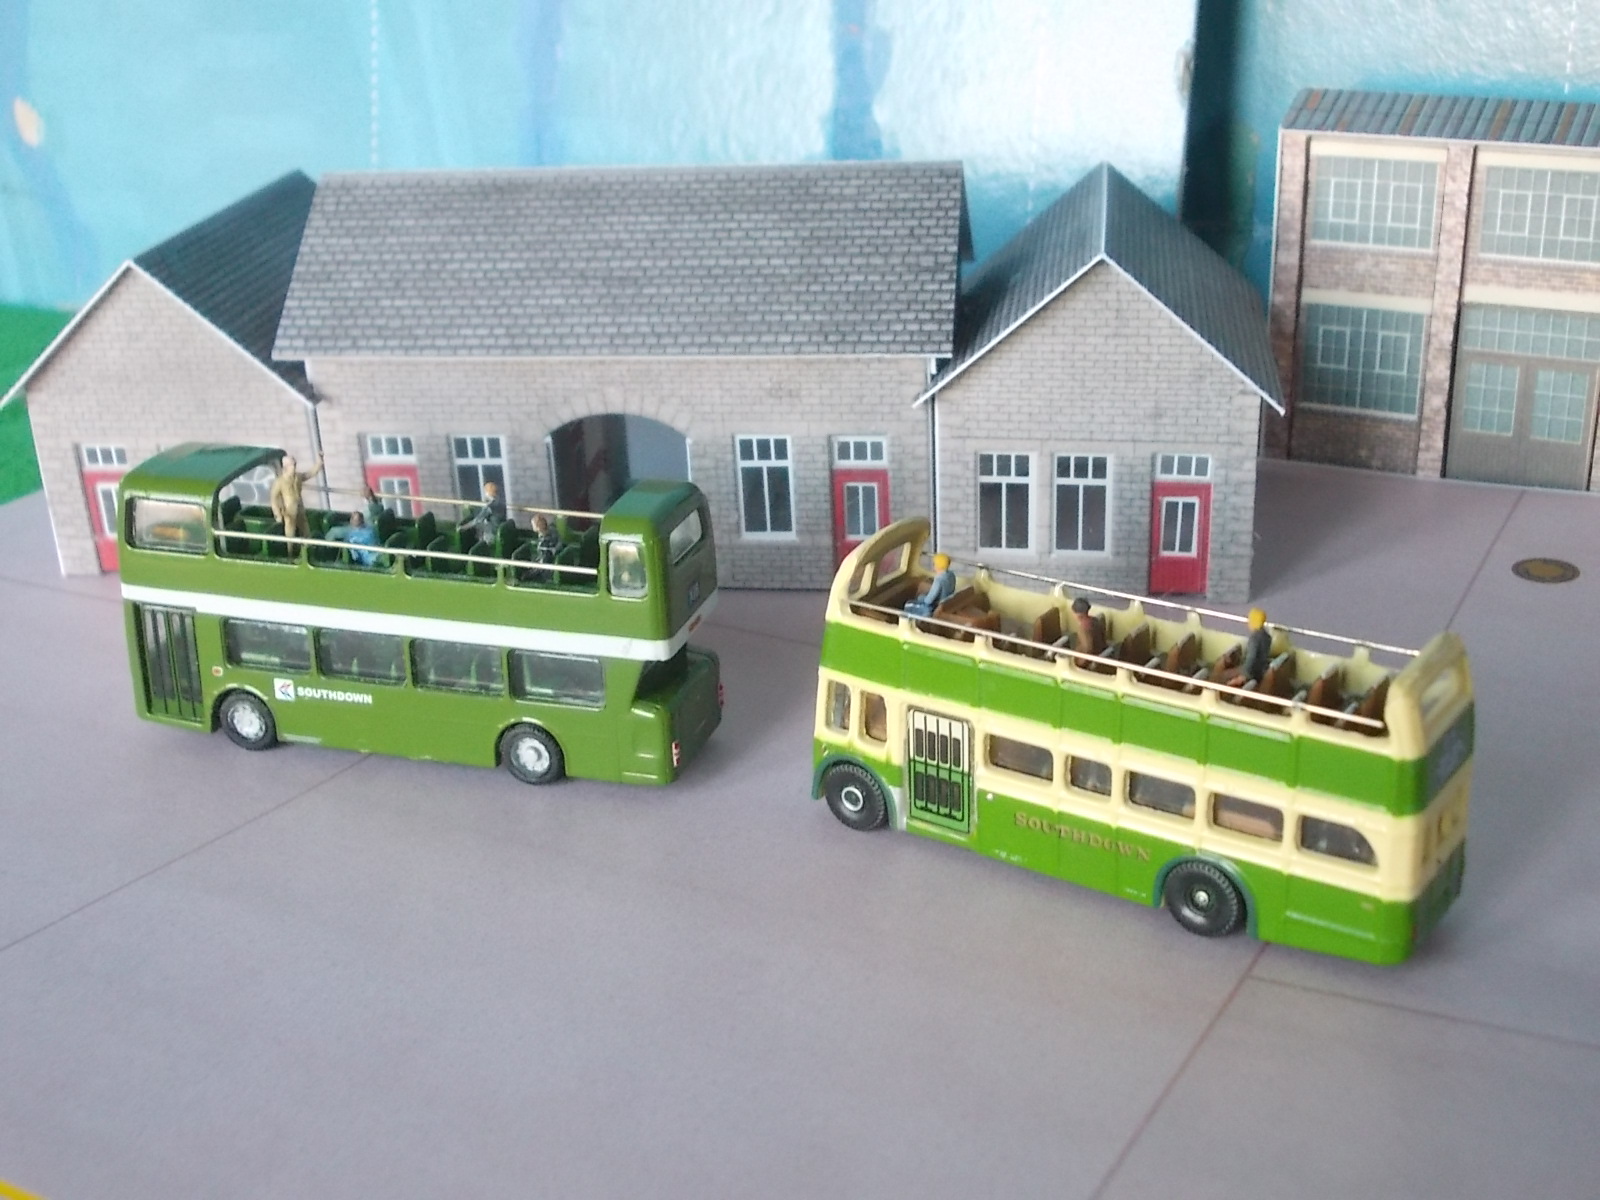
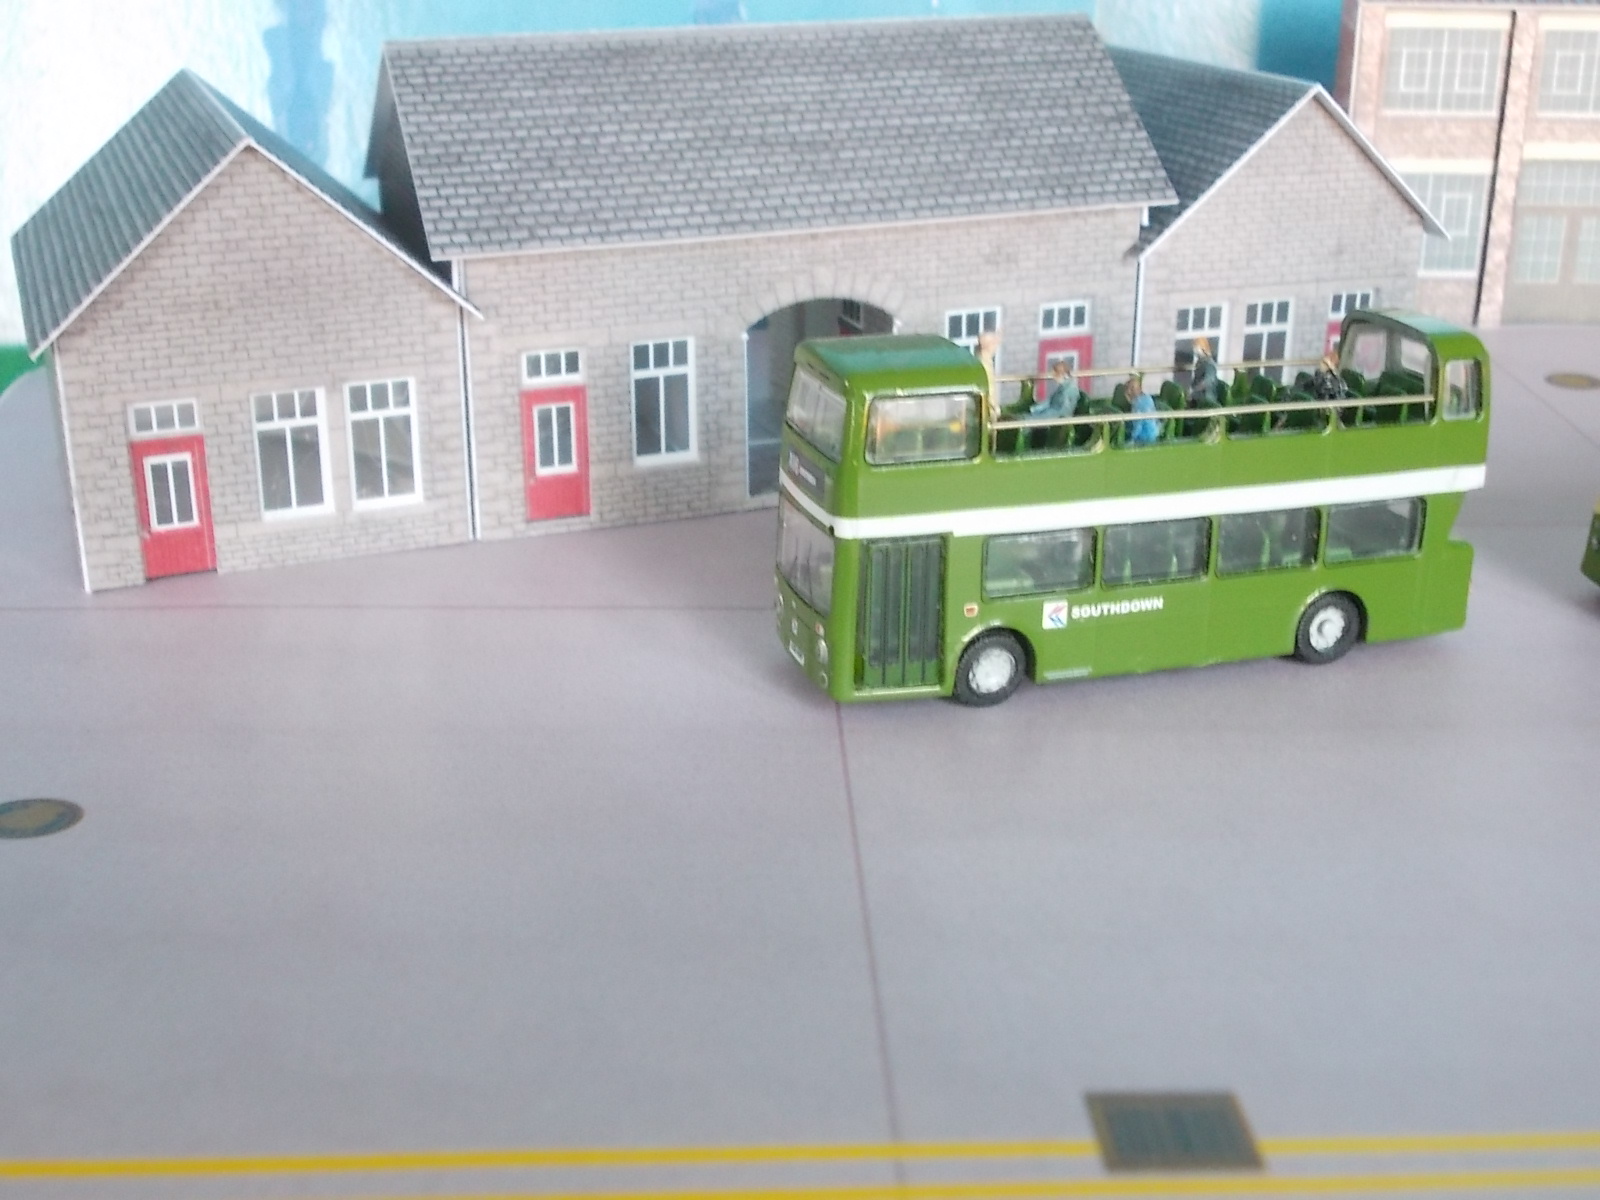
Buildings for DFEX are still under construction and attached are some photos of the part built station, industry, buses and heavy haul rig.